Here is a simple step-by-step guide on how to efficiently clean your messy house in no time!
Here’s What We’ll Cover:
Why You Deserve To Live In A Clean Home
Jobs, children, family obligations, friends, and pets – these are all elements of everyday life that can dominate your time.
With the hassle of trying to keep up and maintain your responsibilities, maybe the cleanliness of your home has fallen behind.
This is something that happens to everyone!
This article contains affiliate links that may earn a commission for qualifying purchases made at no expense to the consumer.

If you’re struggling with having a messy house, know that you’re not alone.
No matter how it happened, every single person deserves to live in a clean home.
So any guilt, shame, or embarrassment you may feel about the state of your home, release it.
Use this step-by-step guide to clean your messy house and create a relaxing environment you can really be proud of!
Benefits of Living In A Clean Home
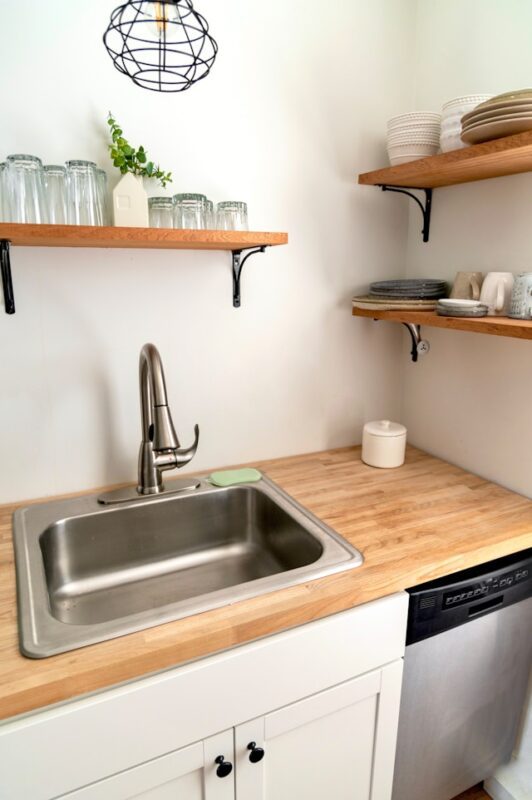
Your home truly is your sanctuary!
It’s a space curated to your needs that you share with others.
So having a home in a messy state can lead to unneeded stress and anxiety (and you’ve already got so many other things to worry about).
If you’ve got children, this stress and anxiety can carry over to them too.
By having a clean home, you’re giving yourself the best chance at achieving a space that’s calm, serene, and promotes an overall healthy well-being.
Finding Motivation To Clean Your Messy House

Maybe you’re thinking, “How am I ever going to clean this messy house?”
Feeling a sense of discouragement is normal when faced with a challenge!
But don’t let your discouragement win.
As previously stated, you and your family deserve to live in a clean home.
So keep that in mind and find a few actions you can take to motivate yourself to get started.
Here are a few ideas on how to get motivated to clean your messy house:
- Play your favorite music (and turn it up loud)
- Put on a TV show or tune into an interesting podcast
- Send the kids out for a play date
- Remind yourself it’ll be worth it to have a clean home again
Now that you’re motivated (or you’re almost there), let’s get started!
Step-By-Step Guide On How To Clean Your Messy House
1. Make A Cleaning Plan

All successful projects begin with a plan, and cleaning your messy house is no different!
Having a plan in place will help you when you start to feel discouraged.
Before cleaning anything, write down your cleaning process and estimate how long you’ll spend on each task.
This will keep your momentum moving forward and help you not get stuck doing one thing for too long.
Here are some questions you can consider when making your cleaning plan:
- How much time do I have to clean?
- Do I have any help or is this a solo clean?
- What’s the most important area that I need to clean? (kitchen, bathroom, etc)
- What cleaning supplies do I need?
Even if your cleaning plan is short and simple, that’s better than nothing!
2. Gather Your Cleaning Supplies
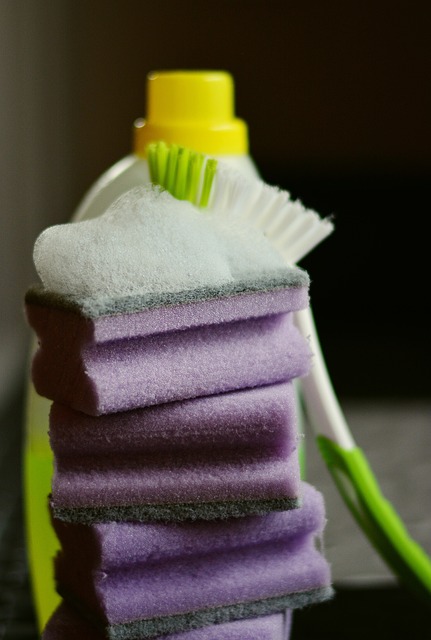
Now that you’ve got your cleaning plan, it’s time to gather your cleaning supplies.
You’ve probably got some supplies on hand, or maybe you’ll need to purchase a few.
Here’s a breakdown of what you’ll most likely need to clean your messy house:
Cleaning Products, Tools, Organizers, and More:
- All-Purpose Cleaner (Mrs. Meyers is highly rated & aromatherapeutic)
- Glass Cleaner
- Disinfectant Wipes
- Wood Furniture Polish (especially if you’ve got rustic home decor)
- Broom/Mop
- Vacuum
- Trash Bags
- Duster/Dust Pan
- Storage Containers
- Organization Bins
- Sponges (The viral Scrub Daddy sponges are worth the hype!)
Use this list as a guide and not a requirement.
You don’t need every single item to successfully clean your home!
3. Collect and Discard Your Trash
Cleaning Plan? Check!
Gathered up your cleaning supplies? Check!
Next, let’s start actually transforming your home.
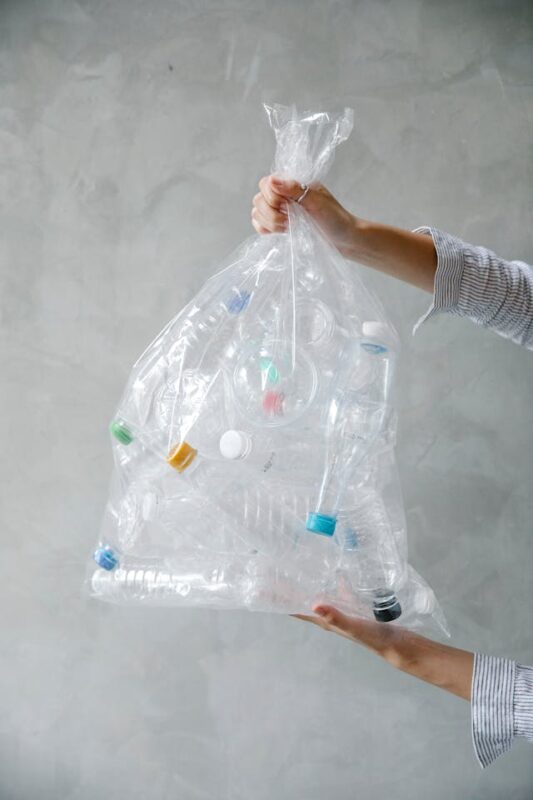
The easiest way to start cleaning your messy home is by throwing out all the trash that’s lying around.
You don’t need to use this time debating on keeping or tossing items of value, instead focus on things that are really just garbage.
Designate these items as automatic throw-aways:
- Food Boxes/Take Out Containers
- Empty Bottles/Jugs
- Expired Food & Drinks
- Clothes’ Tags
- Junk Mail
- Shipping Boxes
- & Anything else you have lying around
If you’re on a time crunch, set a 15-minute timer then move on to the next task!
Any reduction of trash in your home is going to be a significantly positive change.
4. Move Out-Of-Place Items
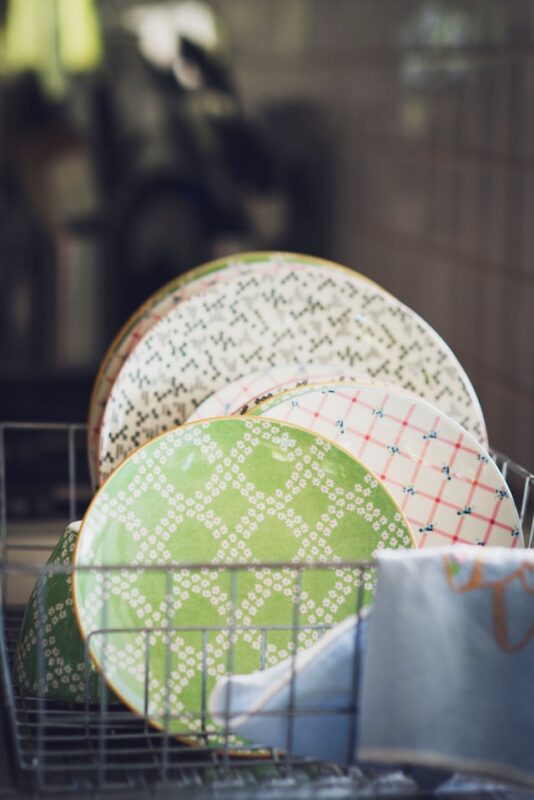
Now that trash is out of the way, let’s move on to the next step!
Focus on moving any out-of-place items back to the area where they belong.
It’s very easy for items to be found out-of-place! Especially if you have little ones, you may find yourself thinking, “How did this get here?”
Maybe you’ve got bathroom towels in your kitchen, salt and pepper shakers in your living room, or kids’ toys…well, everywhere.
Almost everyone has had a sweet treat in bed, so take those dirty dishes on your nightstand to the sink.
With these items back where they belong, you can start to focus on one space without having to constantly walk around your home.
5. Round Up Your Laundry
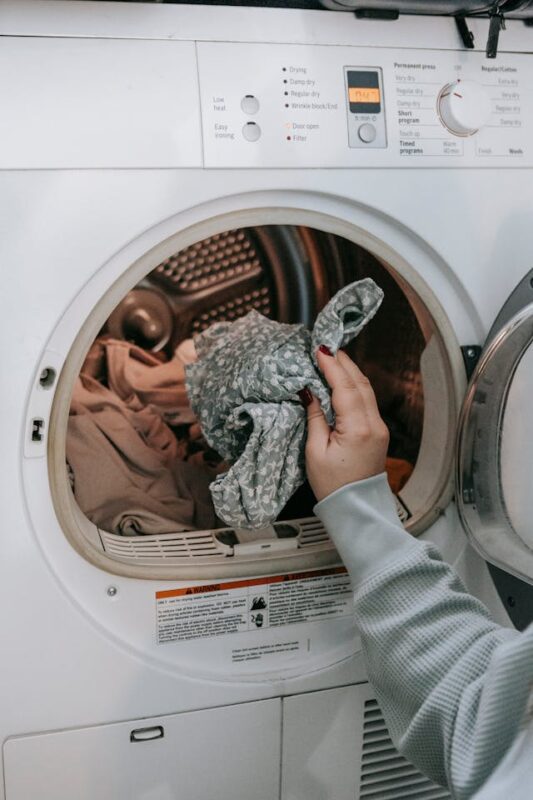
Next, move on to consolidating your clothes into one pile (yes, even if this is a big pile).
Having clothes in small piles all over your home can make you overwhelmed and stressed.
With all of your dirty clothes in one place, it’ll be easier for you to chip away at the pile bit by bit while also clearing up other areas in your home.
Don’t worry, this guide doesn’t advocate doing all of your laundry in one day. That might be a daunting task and could increase your feelings of discouragement.
Instead, try knocking out 1-3 loads!
This will shrink your pile and ensure you and your family will have clean clothes for the next few days.
6. Dust & Clean Your Surfaces
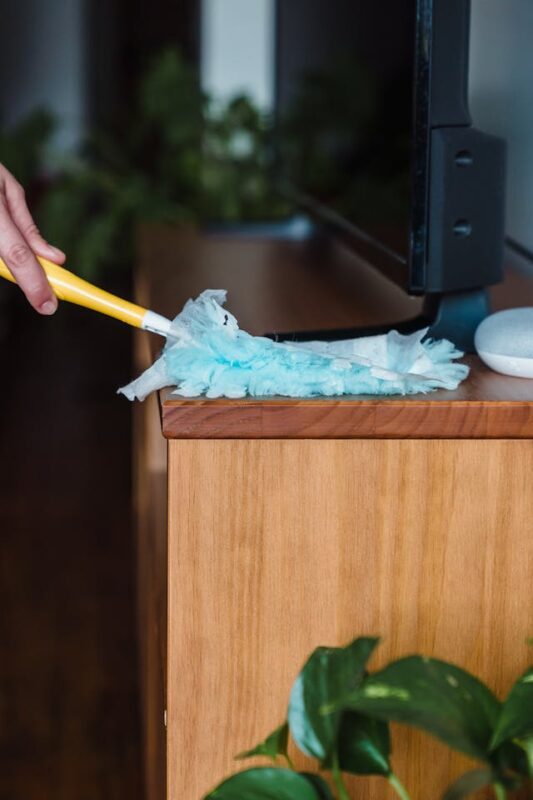
Alright, we’ve got trash, out-of-place items, and laundry in check.
Now, move on to dusting and cleaning your surfaces.
First, dust these commonly dirty areas and work from the top of the room down to the floor:
- Ceiling Fans
- Air Vents
- Light Fixtures
- Blinds
- Bookshelves
- Furniture
- TVs
- Tables & Nightstands
- Baseboards
Next, wipe down and disinfect these dirty surfaces:
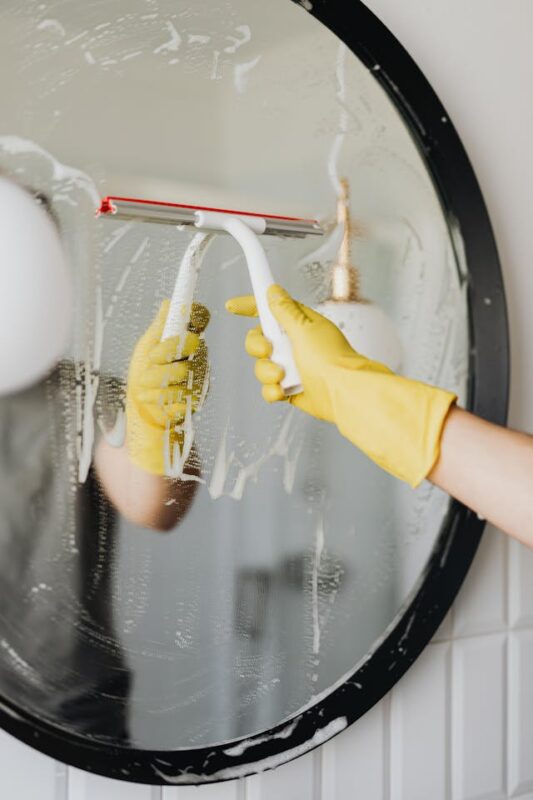
- Kitchen & Bathroom Counters
- Mirrors
- Doorknobs
- Remotes
- Light Switches
- Dining Room Table
- Toilet Seats & Handles
- Kitchen Appliances
- Coffee Tables
- Sinks
- & Anything else that’s touched/used frequently
Once you have everything dusted and disinfected, acknowledge the amazing steps you’ve taken so far in cleaning your messy house!
7. Clean Your Floors
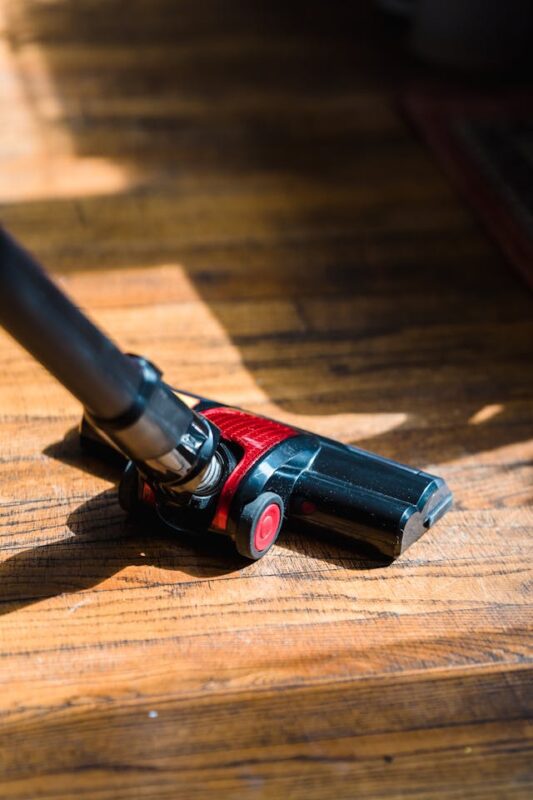
Now let’s move onto the most used element of your home – the floors.
If you have pets or small kids, your floors may be in rough shape.
But don’t worry! With a little hard work, you can get sparkling clean floors in no time!
Depending on what type of floors you have, you’ll either need to sweep, vacuum, mop, or all of the above!
Make sure you focus on cleaning the high-traffic areas in your home, like entry points and hallways.
If you’re doing a more intense cleaning, move your furniture to clean the floors underneath.
8. Target Specific Areas
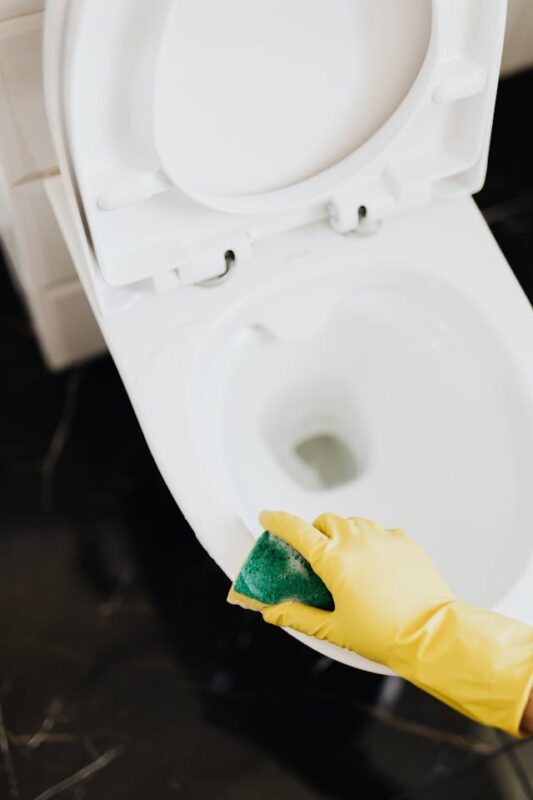
At this point, your home should be looking much cleaner!
If you still think some certain rooms or areas need a little more attention, use this time to focus on those.
If your bathroom needs work, make sure you:
- Scrub the toilet bowl
- Remove any grime from your shower
- & Clean out any toothpaste residue and hairs from your sink
If it’s your kitchen that’s still lacking a clean sparkle:
- Do the dishes/load the dishwasher
- Clean your stovetop
- Make sure all counter appliances are clean and stored neatly
No matter what room needs extra TLC, set a timer and spend 15-20 minutes completing as many tasks as you can.
Try not to get stuck or frustrated in one area. If you do find yourself getting discouraged, move on to an easier task!
Remember, any progress is good progress.
9. Tidy Up & Put Items Away
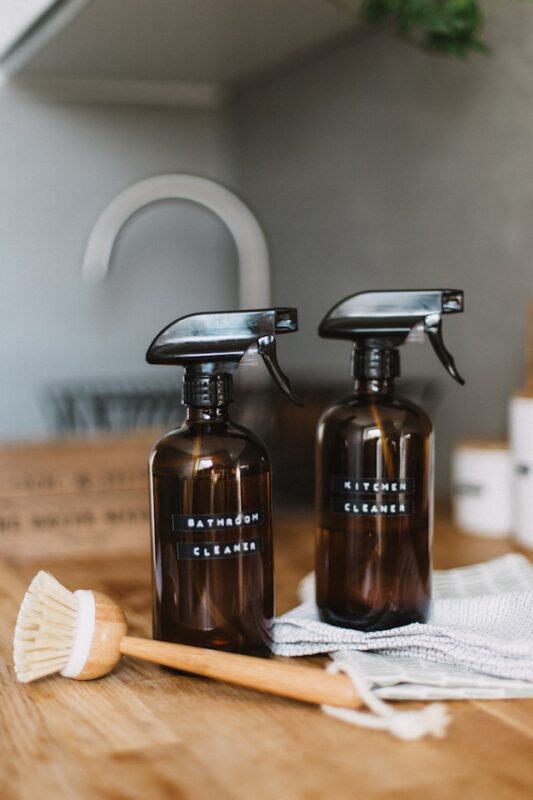
Now it’s time to tidy up any remaining items and put away anything that’s not used frequently.
This is a great time to organize and set yourself up for future success!
Use this time to:
- Make your bed
- Restock bathroom towels
- Organize your pantry
- Fill up pet food containers
- Put away clean laundry
- & and so much more!
10. Time For Finishing Touches
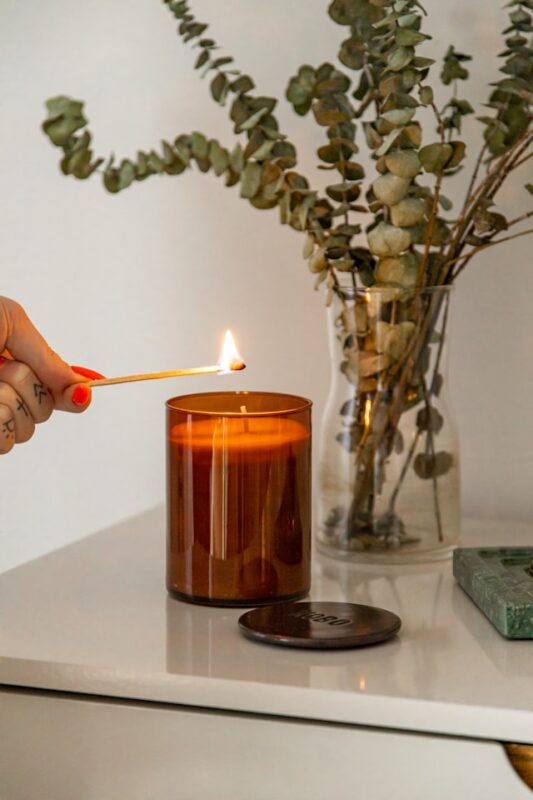
You did it! You’ve made it to the final task of the step-by-step guide on how to clean your messy house.
At this point, your home should be wonderfully clean and exude a peaceful atmosphere.
For the finishing touches, you can:
- Spray your favorite air freshener
- Light a few candles
- Burn incense
- & take a moment to relish in all of the hard work you’ve done
Be proud of yourself! Cleaning your home successfully is no small feat.
To maintain a clean home, make a checklist of a few small tasks you can do every day.
This will help ensure your home continues to be a place you’re happy to share with others!
In Summary: How To Clean Your Messy House

If you’re upset about the state of your house, remind yourself that everyone sometimes gets a messy house.
Forgive yourself and don’t let that guilt add to your mental load.
Instead, use this step-by-step guide to clean your messy house, and focus on completing tasks any way you can.
Find motivation, gather your supplies, toss out your garbage, round up your laundry, and just get started.
Remember, any progress is good progress!
Happy Cleaning!
What’s your favorite way to clean your messy house? Comment below and let us know!
This post was a quick step-by-step guide on how to clean your messy house!
As an Amazon Associate, I may earn from qualified purchases at no additional expense to the consumer.