Home Improvement Projects You Can Finish in a Weekend
Five home improvement projects that fit a weekend, each as a short how-to: the steps in order, the waits makers print, the tools, and what must be ready first.
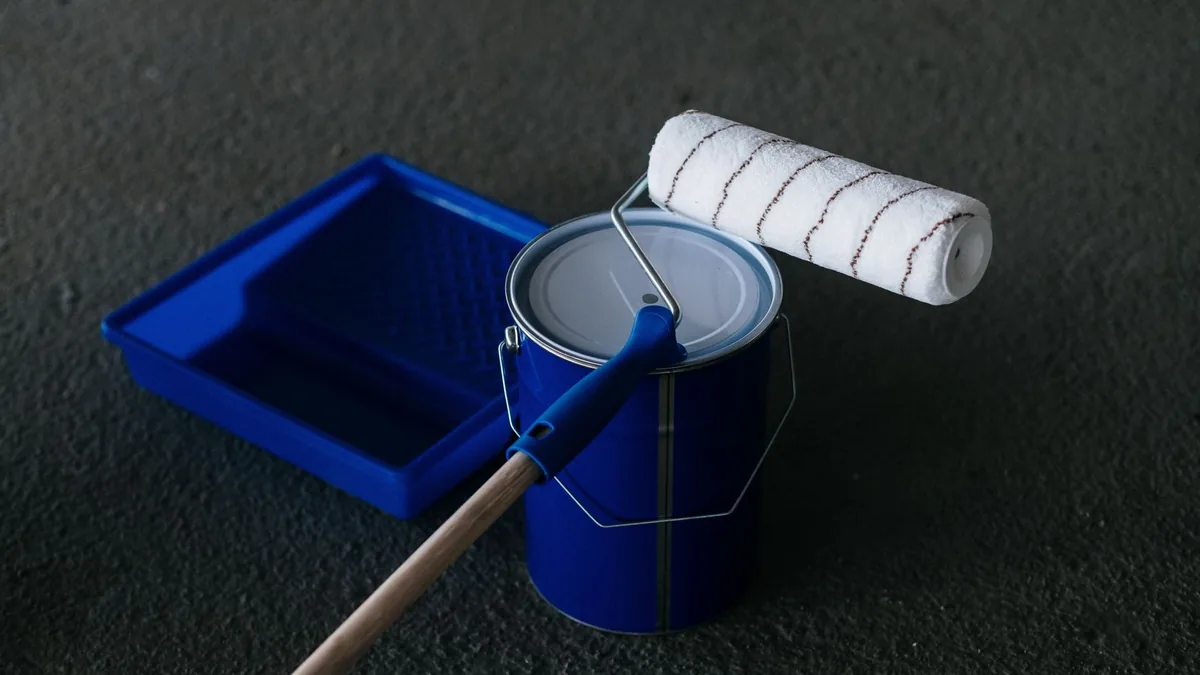
You have one weekend and a room you have wanted to change for a year. The usual way it goes wrong is stacking jobs that wait on each other: paint a wall on Saturday, stick wallpaper over it on Sunday, and you have skipped the 30 days one peel-and-stick maker asks fresh paint to cure. Below are five projects whose makers’ printed waits fit inside the weekend (the cabinets only from a Friday-evening start, the wallpaper only on paint that has already cured, and the floor only in a room and on a subfloor that have been prepared beforehand), each as the steps in order, the tools, and what has to be true first.
The short answer
| Project | Start | The wait that sets the pace | Must be true first |
|---|---|---|---|
| Paint a room | Saturday | 2 to 3 hours between coats | Air, walls and paint at 50 to 90°F |
| Peel-and-stick accent wall | Saturday or Sunday | None on the day | Paint underneath cured, in a sheen the paper accepts |
| Paint kitchen cabinets | Friday evening | About 48 hours before reassembly | Old finish holding on |
| Swap cabinet pulls | Any time | 48 hours if the doors were just painted | New pulls match the old hole spacing |
| Floating vinyl plank floor | Saturday | 48 hours at 65 to 85°F before, during and after | Subfloor carpet-free and flat |
What decides whether a project fits a weekend?
Hands-on time depends on you. What you cannot hurry are the waits printed in each product’s instructions, summed up in the table above and repeated under each project. For the floor, the preparation comes first: it fits only if the subfloor is already carpet-free and flat within 3/16 inch over 10 feet, per the example planks’ installation document: carpet has to come up first, patching compound has its own cure time, and concrete has to be tested for moisture and pH before you start.
How do you paint a room in a weekend?
Two coats on four walls; at a 2 to 3 hour recoat, the gap between them is an afternoon break rather than an overnight one (our reading).
Materials. The paint we used as the example is Up Paint Serene Saturday, pre-tinted, in flat, eggshell or satin: $70.00 a gallon at 10 October 2026 prices (price for reference only). A gallon covers about 400 to 450 square feet; a 12 by 12 foot room with 8 foot walls has 384 square feet of wall, so two coats take about 2 gallons (our arithmetic, before doors and windows). Buy it all at once and intermix the containers so the color matches.
Tools. A 3/8 inch nap roller for most surfaces, a polyester or nylon brush, sandpaper, a damp cloth.
Before you start. Air, wall and paint all between 50°F and 90°F. If you might add peel-and-stick wallpaper later, choose the sheen now: check your wallpaper’s surface list; one maker lists flat and matte paint as not recommended.
Steps.
- Remove loose paint, wash off dirt and grease, rinse, and let the walls dry completely.
- Scuff-sand glossy surfaces, fill imperfections and sand smooth, then wipe off the dust with a damp cloth and let it dry.
- Stir with a circular lifting motion.
- Apply liberally from dry areas into wet, finishing with smooth, even vertical strokes.
- Wait 2 to 3 hours and apply the second coat; deep colors can need longer.
- Clean the tools in warm, soapy water, and leave the walls unwashed for 2 to 4 weeks.
How do you hang peel-and-stick wallpaper?
No paste: on one maker’s paper the self-adhesive backing is all that holds it.
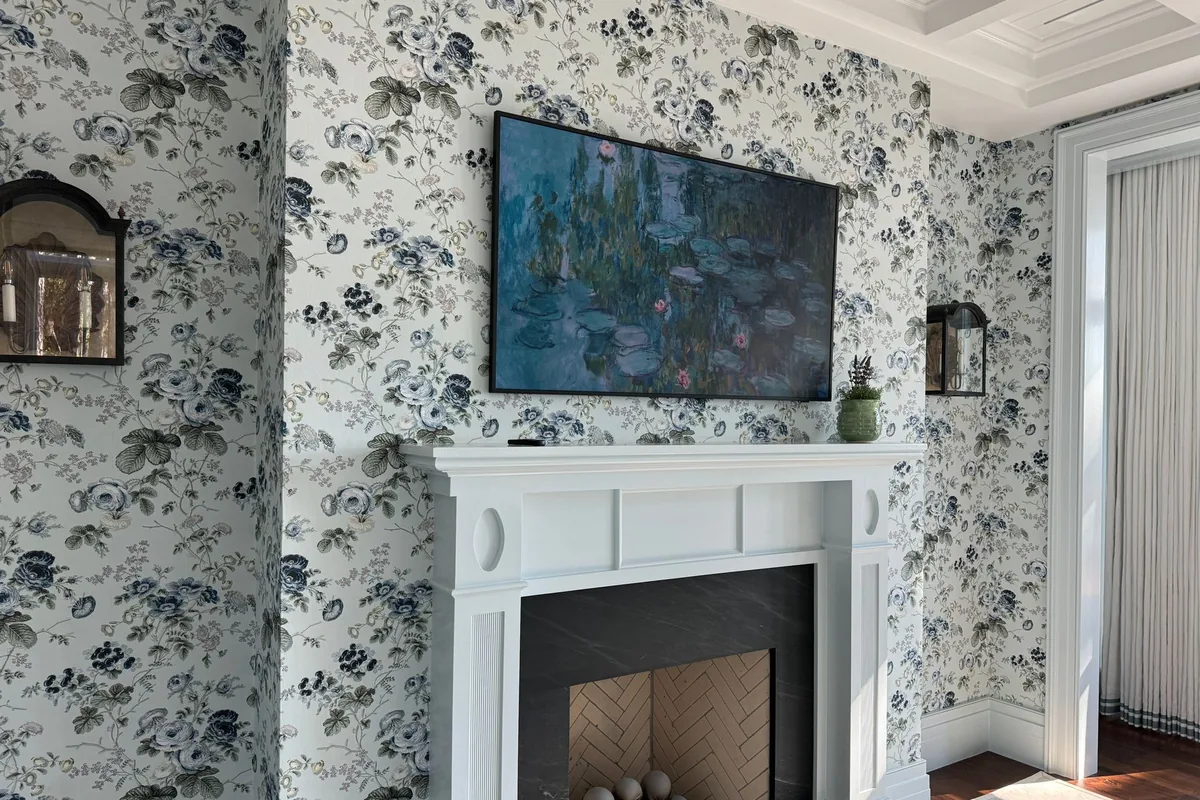
Before you start. One maker wants a smooth wall in good condition, primed and painted, with fresh paint left at least 30 days; in its FAQ it recommends eggshell, satin or semi-gloss and lists flat, matte and low-sheen paint (paint could come off when the paper does) and textured walls as not recommended. Check your own wallpaper’s surface list, and test a small area for adhesion first.
Materials. A peel-and-stick wallpaper; check its surface requirements and roll size. With a 20.5 inch by 18 foot roll, an 8 foot wall takes 99 inch panels, two per roll, and a 10 foot wide wall needs six panels, so three rolls, before pattern-matching waste (our arithmetic). Keep every roll to one lot number.
Tools. Craft knife, cutting surface, level, pencil, straight edge, step stool, squeegee, tape measure.
Steps, following one maker’s install guide:
- Turn the power off before removing switch plates and outlet covers; restore it only once they are back on.
- Wipe the wall with a 1:1 mix of isopropyl alcohol and water and let it dry.
- From the corner, measure the roll width minus half an inch (20 inches for a 20.5 inch roll) and draw a plumb line with the level. Draw a new one at each corner.
- Cut each panel to the wall height plus 2 to 3 inches, lining up the pattern before each cut and numbering the backs.
- Peel back 3 to 4 feet of backing, start at the top of the wall with the panel’s edge on the plumb line, and squeegee from the center out. Continue 3 to 4 feet at a time.
- Do not pull on the paper, or it stretches out of alignment. Reposition as needed; let out a bubble with a safety-pin prick.
- Trim the excess with the craft knife. Where the room swings in temperature, overlap seams slightly so they do not split.
How do you paint kitchen cabinets from Friday evening to Sunday evening?
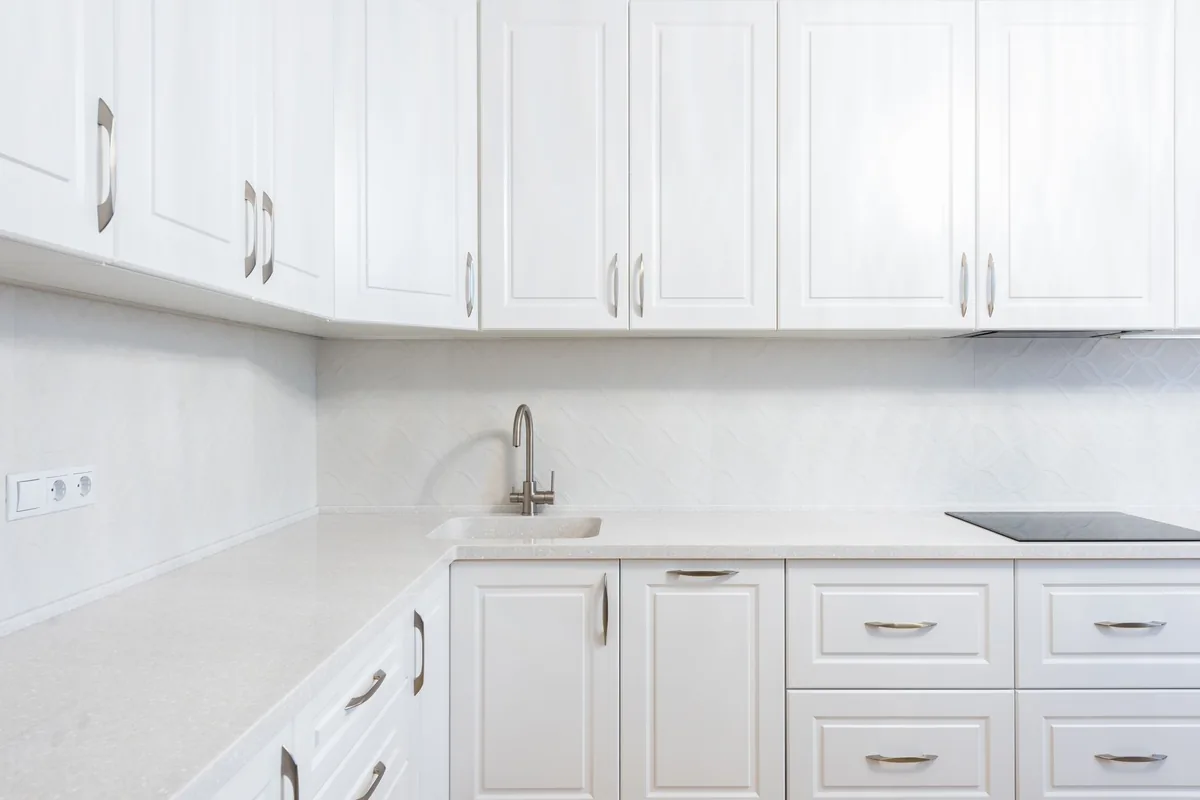
To refinish kitchen cabinets in a weekend you skip stripping and priming, which is what the example paint is sold for (our reading). Its 48 hour wait before reassembly sets the Friday-evening start.
Materials. The cabinet paint we used as the example is Heirloom Traditions All-In-One Paint in Cashmere, sold as needing no sanding, stripping, sealing or priming: $39.99 a quart at 10 October 2026 prices (price for reference only). A quart covers about 140 square feet, sized by the maker for apartment-size kitchen cabinets; at two coats that is about 70 square feet of doors and frames (our arithmetic). Lighter colors over darker surfaces can need a third coat.
Tools. A deglosser, which has to be a chemical degreaser since soap and water will not do; a two-sided scrub sponge; a brush; an artist brush; sandpaper.
Before you start. The old finish has to be holding on. Sand loose, peeling or chipping paint smooth; heavy texture shows through unless sanded, though there is no need to sand to bare wood.
Steps, from the maker’s FAQ:
- Friday evening: hardware and doors. Take off the knobs and pulls, and the doors if you are taking them off. The maker finds it “easier to paint with the doors on”; off means tracking which door and hinge goes where.
- Degloss: wipe on with the sponge’s soft side, scrub with the rough side.
- First coat on the outside, the inside of the doors and the inside face of the frames, the parts the maker names as what most people paint. Trim around hinges with the artist brush.
- Second coat about 30 minutes later, longer in heat or humidity.
- Saturday: leave it. The maker suggests about 48 hours before reassembly.
- Sunday evening: rehang any doors you took off and refit the hardware.
- The next 30 days, while the paint fully cures: light use and damp-cloth cleaning only. After that, a non-abrasive cleaner, but never one with alcohol, which strips the paint.
How do you swap cabinet pulls without drilling?
If the new pulls fit the old holes, there is nothing to drill or fill (our reading).
Materials. New cabinet hardware with the same center-to-center spacing as the old, the distance between the two screw holes. One hardware maker sells its pull by that number, at 4, 6 or 8 inches, pairing the 4 inch with drawer fronts and smaller doors and the 6 inch with standard kitchen cabinets.
Tools. A tape measure and a screwdriver (our reading).
Steps (our suggestion):
- Measure the spacing on every pull you are replacing, drawers and doors separately, and count each size. Check listings in both inches and millimetres (that maker lists its 4 inch as 4 in / 101.6mm).
- Check that the screws suit your door and drawer thickness before ordering.
- If the cabinets were just painted, wait out the paint’s 48 hours.
- Unscrew the old pulls from inside and fit the new ones in the same holes.
How do you lay a floating vinyl plank floor in one room?
The example planks click together and float, with no glue or nails; the preparation comes before Saturday.
Before you start, per the example planks’ installation document (yours will have its own):
- The room is held at 65 to 85°F for 48 hours before, during and after.
- All carpet and padding is up; the planks do not go over plank floors, cushioned vinyl, laminate or another floating floor.
- The subfloor is clean, dry, sound and flat within 3/16 inch over 10 feet, with gaps over 3/16 inch filled with cement-based patch (check the patch’s cure time).
- Concrete has been tested for moisture and pH.
- A room in direct sun needs blinds, curtains or UV film; if it cannot be shaded, the document requires a glued install, which this weekend plan does not cover.
- Old resilient flooring or adhesive may contain asbestos fibers or crystalline silica: avoid creating dust, a cancer and respiratory tract hazard; local rules may require professional removal.
Materials. The planks we used as the example are TritonCORE Pro 7 in rigid core vinyl at Flooring Inc, with a cork underlayment attached: $55.63 per 28 square foot case at 10 October 2026 prices (price for reference only). A 10 by 12 foot room takes five cases before cuts (our arithmetic). All boxes should come from one production run.
Tools. Safety glasses, tape measure, square, utility knife, straight edge, 1/4 inch spacers, chalk line, a power saw with at least a 40-tooth blade, floor patch if needed, and only soft-cap knee pads.
Steps.
- Remove the moldings and undercut door moldings to the floor’s thickness. Mix planks from several open boxes.
- Measure the last row’s width; under 2 inches, cut down the first row instead.
- Snap a chalk line a plank’s width plus 1/4 inch from the starting wall.
- Start at the left, tongue toward the wall, with 1/4 inch spacers at every wall.
- Join ends by laying the tongue over the previous plank’s groove and pressing down until it snaps.
- Cut each row’s last plank to the wall measurement minus 1/4 inch. First and last planks stay at least 8 inches long; an offcut that long can start the next row.
- Fit each long side fully into the row before, lower it and snap the end. Keep the first two rows straight and square, and stagger end joints at least 8 inches.
- Take out the spacers and fix baseboard or quarter-round to the wall, never through the floor. Never nail the planks.
The store’s product page gives a 2 to 5 mm gap, score-and-snap cutting, and in its Q&A says low-pile carpet can stay; the document asks for at least 1/4 inch, a power saw and all carpet out. Follow the document (our suggestion). Afterwards, no cabinets or kitchen island on top.
Which project fits the days you have?
- Saturday and Sunday only. Paint a room; paper a wall whose paint has already cured; swap pulls on cabinets you did not just paint; or lay the floor if its preparation is already done.
- Friday evening to Sunday evening. The cabinets, with new pulls as Sunday evening’s last job.
- Two weekends a month apart. Paint now in a sheen your wallpaper accepts; paper next month.
- Renting. Ask your landlord before any of the five (our suggestion). The store’s Q&A suggests a glue-free floor in a rental so it can come up later.
If the room you painted is a bedroom, our bedding guide picks up from there, and once a new floor is down, the area rug guide covers what goes on it. More projects are in our home improvement section.
Where these numbers come from
Dry, recoat, cure and installation figures come from each maker’s product page, FAQ, install guide or installation document linked above, and prices from the product pages (Flooring Inc’s own listing for the planks), all read on 10 October 2026. The room sizes are our examples; the gallon, roll and case counts are our arithmetic.
Frequently asked questions
What home improvement projects can you finish in a weekend?
Five whose printed waits fit two days: painting a room (recoat in 2 to 3 hours with the example paint), peel-and-stick wallpaper on paint that has already cured, swapping cabinet pulls into the old holes, a floating vinyl plank floor in a room already held at 65 to 85°F for 48 hours over a subfloor that is already carpet-free and flat, and painting kitchen cabinets if you start on Friday evening, since the example cabinet paint asks for about 48 hours before the cabinets go back together.
Can I paint a wall and put peel-and-stick wallpaper on it the same weekend?
No. One peel-and-stick maker asks for at least 30 days after painting before its paper goes on. Paint this weekend and paper next month, or paper a wall whose paint has already cured, in a sheen your wallpaper's surface list accepts.
How long after painting cabinets can I rehang the doors and put the knobs back on?
About 48 hours with the cabinet paint used as the example here, so a Friday-evening start puts the doors and hardware back from Sunday evening. The same maker gives about 30 days to full cure: use the cabinets lightly and clean them with a damp cloth for that month.
Can vinyl plank flooring go over my existing floor?
It depends on the floor. The installation document for the planks used as the example rules out carpet, plank floors, cushioned vinyl, laminate and other floating floors, and accepts ceramic tile, or one layer of non-cushioned sheet vinyl in good condition, installed full-spread and properly secured, if it is sound and flat within 3/16 inch over 10 feet. The document notes it may be best to remove the old floor and prepare the subfloor instead. Check your own planks' instructions before you start.
How much paint do I need to paint a bedroom?
About 2 gallons for two coats in a 12 by 12 foot room with 8 foot walls: 384 square feet of wall, doubled, at the example paint's printed 400 to 450 square feet per gallon (our arithmetic, before taking off doors and windows).
- #home improvement
- #weekend projects
- #painting
- #peel and stick wallpaper
- #kitchen cabinets
- #vinyl plank flooring