Curtain Length Guide: Standard Sizes and How to Measure
Which curtain length fits your window: the standard sizes, how far off the floor to stop, and how to measure from the rod so the panels don't end up too short.

The panels go up and stop an inch or two short of the floor, or the grommet tops you never measured lift the hem higher than the tape said. One easy slip is measuring the window and buying the nearest standard length. Curtain length runs from the rod, not the window, and a grommet panel’s listed length includes the fabric above the rod: in one maker’s example, a 96-inch panel with its grommet tops 3 inches below the top edge hangs 93 inches below the rod (our arithmetic). Below: the standard lengths and what each fits, where the hem can stop, how the rod and the curtain top change the number, how to measure step by step, and what to do when no standard length fits.
The short answer
- Standard lengths: 63, 84, 96 (or 95), 108 and 120 inches; café curtains come shorter.
- Measure from where the curtain hangs: the top of the rod for grommet, rod-pocket and back-tab panels; the bottom of the rings for rings or clips. Measure down to where the hem should stop, not to the bottom of the window.
- Where the hem stops: at the sill or ½ inch above it; about 1 inch below the sill for an apron; ½ to 1 inch above the floor for a float; touching for a kiss; 1 to 2 inches extra for a break; 3 to 6 inches extra for a puddle on three of the guides here.
- Add the fabric above the hanging point. On a grommet or rod-pocket panel, part of the listed length sits above the rod; if the listing doesn’t say how much, buy a few inches longer and set the rod height from the panel once it arrives.
- Between two sizes: buy the longer one and hem it, or move the rod.
What are the standard curtain lengths, and what does each one fit?
Ready-made panels come in a handful of lengths, and the packaging gives width first, then length, so a 52 x 84 is 52 inches wide and 84 long. The usual run is 63, 84, 96, 108 and 120 inches; some makers sell 95 instead of 96, as on one hemming guide’s list and on the blackout pair further down. Café curtains, the short panels over a kitchen sink, come shorter still: 24 and 36 inches on one bracket maker’s list.
What each length suits depends on whose guide you read:
| Length | One retailer’s guide | One bracket maker’s guide |
|---|---|---|
| 63 in | Small windows and kitchens; hangs to the sill or slightly below | Sill and apron styles in kitchens, baths and kids’ rooms |
| 84 in | Rooms with standard 8-foot ceilings; hovers just above the floor when hung above the frame | Lower rods and shorter walls; apron-to-hover looks |
| 96 in | Ceilings around 9 feet; floor length | Floor length on standard 8-foot ceilings |
| 108 in | 10-foot ceilings, or a puddle under a lower ceiling | 9-foot ceilings or high-hung rods |
| 120 in | Not listed | 10-foot ceilings and puddle styles |
The retailer’s guide and the bracket maker put the same 8-foot room one size apart, 84 against 96 inches. One likely reason is where the rod goes: the retailer’s 84 assumes a rod hung above the window frame, and the bracket maker lists 84 for lower rods (our reading). Use the table to narrow it down, then let your own measurement from the rod pick the size.
Where should the hem stop?
Decide this before you measure, because each style changes the number you buy. The names vary between guides: another retailer’s guide calls a hem at the sill an “apron break”, and on one custom maker’s chart a 1-inch puddle is “sometimes called a ‘trouser break.’”
| Style | Where the hem sits | What to do with the measurement |
|---|---|---|
| Sill | At the top of the sill, or about ½ in above it | Measure to the sill, or stop ½ in short |
| Apron | Below the sill: about 1 in below the sill or frame on two guides, 1 to 2 in below the bottom of the sill on a third | Measure to that point |
| Float (hover) | ½ to 1 in above the floor | Take ½ to 1 in off the floor measurement |
| Kiss | Just touching the floor | Measure to the floor exactly |
| Break (trouser) | A slight bend where it meets the floor | Add 1 to 2 in (about 2 in on one guide) |
| Puddle | Fabric pooling on the floor | Add 3 to 6 in on three guides (on one of them the moderate tier, between 1–3 in minimal and 6–8 in opulent); 3 to 8 in on a fourth; 2 to 4 in for the common puddle on a fifth, which goes to 10 in or more for very formal rooms |
Sill and apron are the practical lengths for kitchens and bathrooms, over a heater or a window seat, on one retailer’s guide. For a curtain below the sill, one blind maker’s design consultants suggest going 6 inches past the bottom sill on a window.
Float stops no more than ½ to 1 inch above the floor at one custom drapery maker; any higher “and your curtains may look like they were ordered too short.” The bracket maker’s two pages differ slightly: less than an inch on its length-rules page, about 1 inch on its measuring guide. A float is easy to open and close, but on an uneven floor its straight line shows the slope.
Kiss is the hardest to get right on the bracket maker’s length-rules page: it needs exact measurements, and both of its pages say to include the rings if you use them.
Break and puddle use extra fabric on the floor. On the same drapery maker’s page they suit homes with uneven floors, because the extra length helps disguise the slope, and puddles are kept for panels that stay put in formal rooms, because the long fabric makes the panels harder to open and close often. On the guide that calls a sill hem an “apron break”, puddles can easily collect dust and dirt and suit low-traffic rooms such as formal dining rooms and guest bedrooms. In a house with pets that shed a lot, keeping curtains off the floor may be best, on the blind maker’s advice.
Two adjustments for the fabric. Linen and wool curtains are more likely to relax and stretch over time. On the drapery maker’s page that cuts two ways: these fabrics should be cut slightly shorter, yet for natural fabrics a break or puddle is typically best, and for linen or wool a break or a shorter puddle is often a better option than a long puddle. For blackout curtains, a break or puddle helps block more light at floor level, and one curtain maker recommends adding 2 to 3 inches to the finished length for light blocking.
If an area rug runs under the curtains, measure to the top of the rug rather than the floor, since that is the surface the hem has to clear (our suggestion). For sizing the rug itself, see our guide to area rugs.
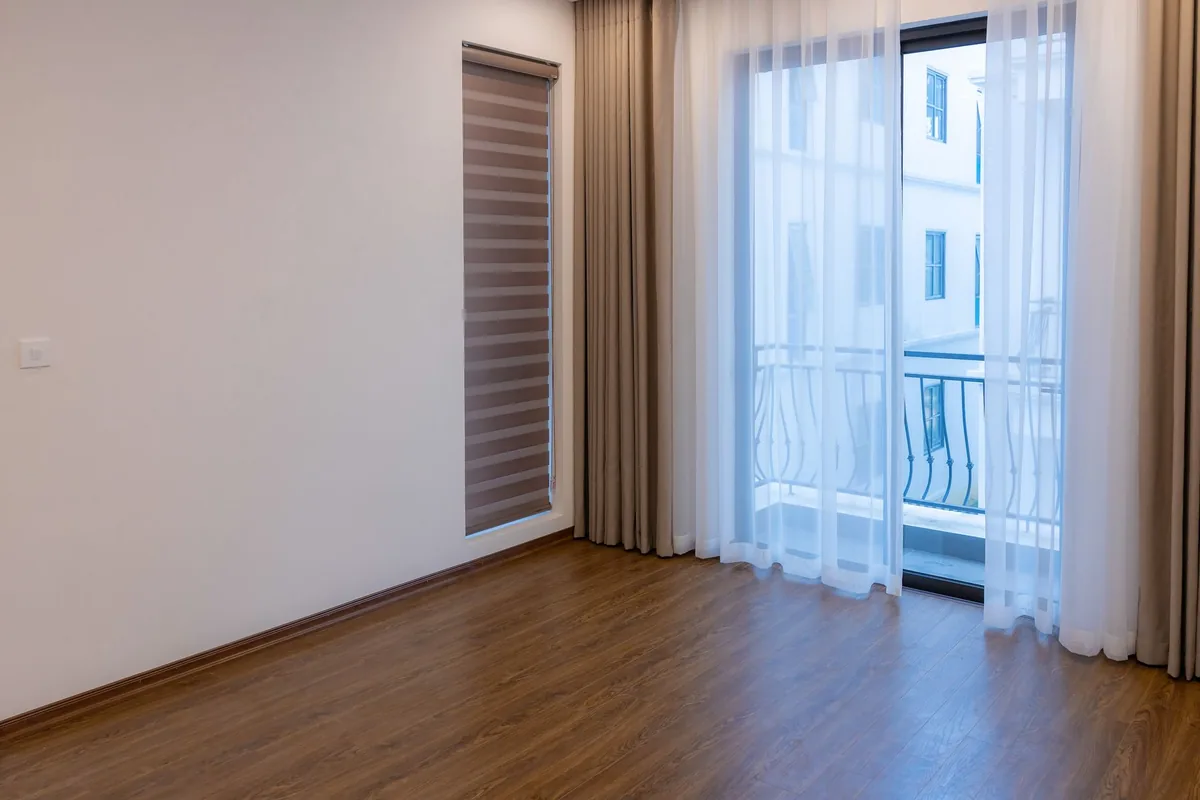
How do the rod height and the curtain top change the length?
The rod sets the starting point
On an outside-mount rod, curtain length is measured from the rod to the floor, not from the window, so every inch you raise the rod adds an inch to the length you need (our arithmetic). The same retailer’s guide places the rod anywhere from a few inches above the window trim to a few inches below the ceiling. Where exactly to put it, how far past the frame and on what brackets is in how to hang curtains. For the length, fix the height first and measure from there.
On an inside mount the rod sits inside the window frame, parallel to the sash, and the curtains generally end at the sill. The same rule applies: measure from where the curtain hangs on that rod down to the sill (our reading; the retailer’s guide words it as sash to sill).
The curtain top decides where the fabric hangs from
A ready-made panel’s length runs from its top edge to the hem, but with the tops in the table below the panel doesn’t hang from that edge. Grommets and rod pockets put the rod a little way down the panel, so some of the listed length sits above the rod, and back tabs, sewn on below the top edge, likely do the same (our reading); rings and clips do the opposite and drop the whole panel below the rod. The makers below give these allowances:
| Curtain top | Where it hangs from | What the makers allow for |
|---|---|---|
| Grommet | The top of the rod, through the grommets, with fabric standing above it | A 96-in panel with grommet tops 3 in below the top edge hangs 93 in below the rod (one maker’s example; our arithmetic). Another custom maker adds about 1 in above the grommet that you don’t count; a third adds 2 in to the measurement from the bottom of the rod |
| Rod pocket | The rod, threaded through the pocket, with a short heading above | Gathering on the rod takes up length: one custom maker sets small rods 1 in lower than the finished length and rods 2 in or more across about 2 in lower. Another adds 1 in (single pocket) or 2 in (double pocket) to the bottom-of-rod measurement |
| Back tab | The rod, through tabs sewn on the back | Measure from the top of the rod (one custom maker); another adds 1 in to the bottom-of-rod measurement |
| Rings or clips | The bottom of the rings | Measure to the bottom of the rings. On one custom maker’s drapes, metal clip rings add 3 in (eyelet and clip) or 2 in (eyelet only), taken off the panel length |
| Pinch pleat on hooks | Hooks in rings or a track | Measure from the bottom of the rings and take off ½ in (one custom maker); another takes 1 in off the bottom-of-rod measurement |
Those allowances are each maker’s own construction, so they won’t match a ready-made panel exactly (our reading). One maker’s grommet guide gives the rule that does carry over: the panel’s length doesn’t set the rod height, because the grommet sits below the top of the curtain. On a ready-made panel, measure from the top edge down to where the rod will touch it: the top of a grommet hole, the top seam of the rod pocket, or the top of a back tab (our suggestion). Then:
Panel length you need = drop from the hanging point (the top of the rod, or the bottom of the rings) to the hem + fabric above that point (none on rings or clips) (our arithmetic).
A worked example (our arithmetic). The top of the rod is 90 inches off the floor, the panel has grommets with their tops 3 inches below the top edge, and you want a ½-inch float. The drop is 89½ inches and the panel needs 92½, which isn’t a standard length. An 84-inch panel would stop 9 inches off the floor. A 95-inch panel hangs 92 inches below the rod and lands 2 inches on the floor, the long end of a break; raise the rod to 92½ inches and the same panel floats ½ inch. Leave at least as much room above the rod as the fabric above the grommets, 3 inches in this example (our arithmetic); one custom maker sets a 1-inch minimum for its own grommet drapes.
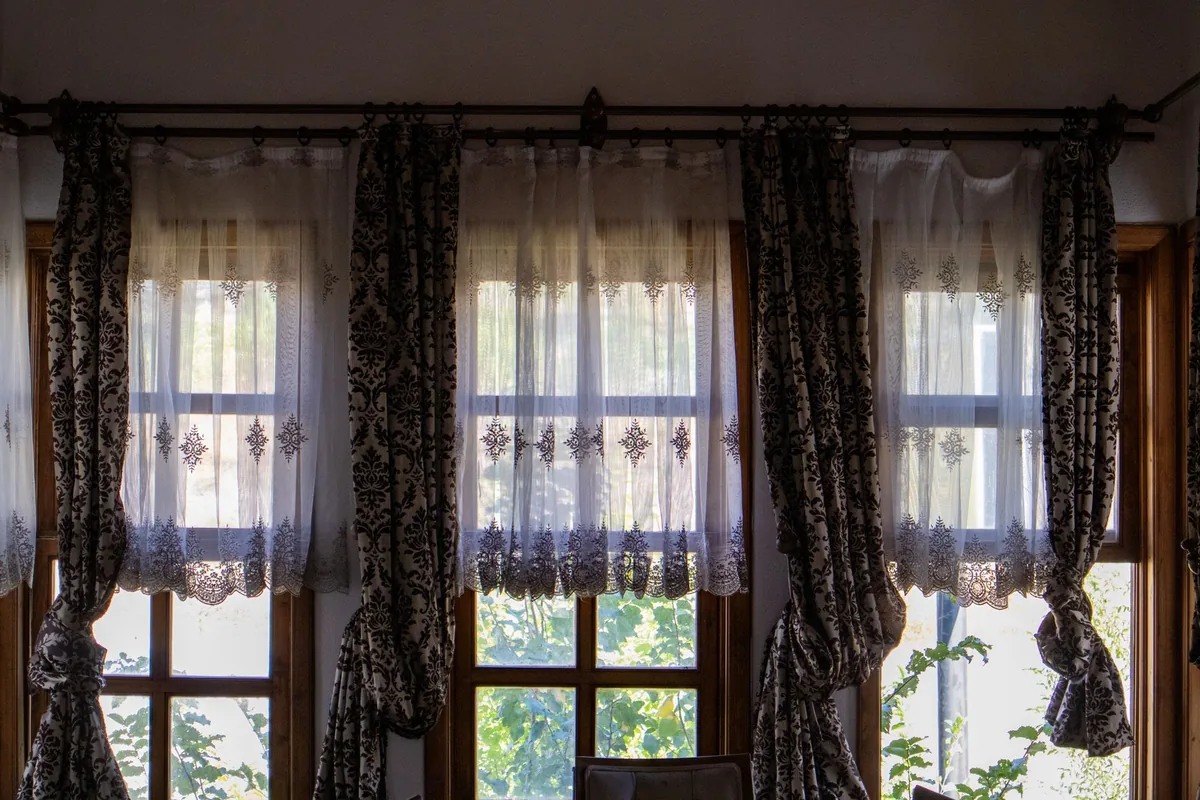
How do I measure for curtain length, step by step?
Tools: a metal tape measure, since cloth tapes stretch, a step stool, a pencil and paper, a level if you are putting up a new rod, and a second person for tall ceilings, to keep the tape straight.
- Choose an inside or outside mount. For an inside mount, measure from where the top of the rod sits (or will sit) inside the frame down to the sill, use the Sill row in step 5, then go to step 6.
- Fix the rod height. Measure from the rod if it’s already up; otherwise mark where the top of the rod will sit. For rings or clips with no rod up yet, measure one ring with its clip, from the top of the ring (where it rests on the rod) to the bottom of the clip (or to the eyelet if there’s no clip), and take that off your measurement (our suggestion).
- Measure from the hanging point to the floor (or the sill): the top of the rod for grommet, rod-pocket and back-tab panels, the bottom of the rings for rings or clips. Let the tape hang straight down.
- Measure at both ends and in the middle (our suggestion). Most floors aren’t perfectly level, on one bracket maker’s hemming guide. For a float, use the shortest reading so the hem clears the floor everywhere; for a break or puddle, use the longest (our suggestion). One custom maker asks for the longest for its made-to-measure drapes. On a noticeably sloping floor, a break or puddle hides the difference better than a float.
- Apply the hem style from the table above: measure to the sill or stop ½ inch short for a sill length; go about 1 inch below the sill for an apron; take off ½ to 1 inch for a float; add 1 to 2 inches for a break; add 3 to 6 for a puddle (on three of the guides).
- Add the fabric above the hanging point for your curtain top (none for rings or clips), from the listing if it gives it. If it doesn’t (the Sonoma listing below doesn’t), buy a size a few inches above your drop, so the rod still sits at or above your mark once the heading is taken off (our suggestion). Hold off installing the rod until the panel arrives (our suggestion), then set its height from the panel: measure from the hem to the top of the grommet opening and add the float gap, as one maker’s grommet guide does, or subtract the break or puddle; the same works from the top of a rod pocket or back tab (our reading). If the rod is already up, move it or hem the panel instead.
- Pick the size. Choose the standard length that matches. If your number falls between two sizes, buy the longer one and have it tailored: hemming down is easy, adding fabric isn’t.
- Repeat for every window. Measure each one on its own, even two that look identical.
What if no standard length fits?
Buy the next size up and hem it. One bracket maker’s hemming guide works like this:
- If the fabric is prone to shrink, wash it before you measure and hang, then iron out the creases.
- Hang the panels, let them fall straight, and pin where the hem should be.
- Allow for a double-folded hem: on floor-length curtains a 3- to 4-inch hem plus 3 to 4 inches for the fold, so the panel should be 6 to 8 inches longer than the pin line. On apron-length curtains, a 2-inch hem plus the fold, so add 4 inches.
- To take a 96-inch panel to 84 with a 3-inch hem and a 3-inch fold, cut off 6 inches, not 12, and fold the other 6 under.
- Unless the panel is far longer than you need, consider hemming instead of cutting, so you can undo the hem later. Iron-on fusible web (wash the curtains first) and fabric glue are no-sew options, but they’re hard to undo, and they show through sheers, so sew those.
Move the rod. Within the range above, raising the rod a couple of inches uses up a little extra length, and lowering it makes a slightly short panel reach the floor (our suggestion), as in the worked example.
Add rings or clips. Rings drop the panel below the rod by their own length, 2 to 3 inches with one custom maker’s clip rings, so on a flat or rod-pocket panel they can make up a small shortfall (our reading).
Order a custom length. Made-to-measure drapes are made to the finished length you give: rounded up to the nearest ⅛ inch at one custom maker. Another’s custom curtains allow a variation of 1 to 2 inches either way.
For an example of how many lengths one ready-made line comes in, the NICETOWN Sonoma 100% Blackout Linen Dual Hanging Ready Made Curtains hang from either a rod pocket or back tabs, and in the 52-inch width the pairs come in 45, 48, 63, 68, 72, 84, 90, 95, 102, 108 and 120 inches, so the in-between 68, 72, 90 and 102 can save a hem. An 84-inch pair is $89.99, a 95-inch pair $95.99, a 108-inch pair $102 and a 120-inch pair $108 at 11 October 2026 prices (price for reference only). The listing gives no depth for the heading above the pocket or tabs, so use the fallback in step 6. Its fabric is described as linen-look, so the linen stretch advice above may not apply to it (our reading).
More ideas for curtains, rugs and the rest of the room are in rugs and decor.
Where these numbers come from
The lengths, floor gaps and heading allowances come from the curtain, drapery and bracket makers’ and retailers’ measuring guides linked above, read on 11 October 2026. The product price is from the brand’s own page on the same date, with no code applied. The worked example and the panel arithmetic are ours.
Frequently asked questions
What length curtains do I need?
Measure from where the curtain hangs (the top of the rod for grommet, rod-pocket and back-tab tops; the bottom of the rings for rings or clips) to where you want the hem. Take off half an inch to an inch for a float, add 1 to 2 inches for a break or 3 to 6 for a puddle (on three of the guides here), then add any fabric that stands above the hanging point. Buy the standard length at or just above that number and hem it or move the rod to fit.
What are the standard curtain sizes?
Ready-made lengths usually run 63, 84, 96, 108 and 120 inches; some makers sell 95 instead of 96. Café curtains are shorter: 24 and 36 inches on one bracket maker's list. Sizes are written width first, then length, and the same bracket maker's guide gives 48 inches as a typical panel width.
How far off the floor should curtains be?
For a float, half an inch to an inch. One custom drapery maker puts the limit at ½ to 1 inch; any higher may look like curtains ordered too short. If you'd rather they touch, a kiss just meets the floor, a break adds 1 to 2 inches and a puddle 3 to 6 inches on three of the guides here.
How long should blackout curtains be?
Long enough that less light gets in under the hem. For blackout curtains, one curtain maker recommends adding 2 to 3 inches to the finished length you want, and on one custom drapery maker's guide a break or puddle helps block more light at floor level.
- #standard curtain sizes
- #measuring for curtains
- #blackout curtains