DIY Closet Organizer: Plan, Cut and Install Shelves and Rods
Build your own closet organizer: what to measure, which boards, rods and screws to buy, how to cut a plywood shelf tower, and how to anchor it and hang rods.
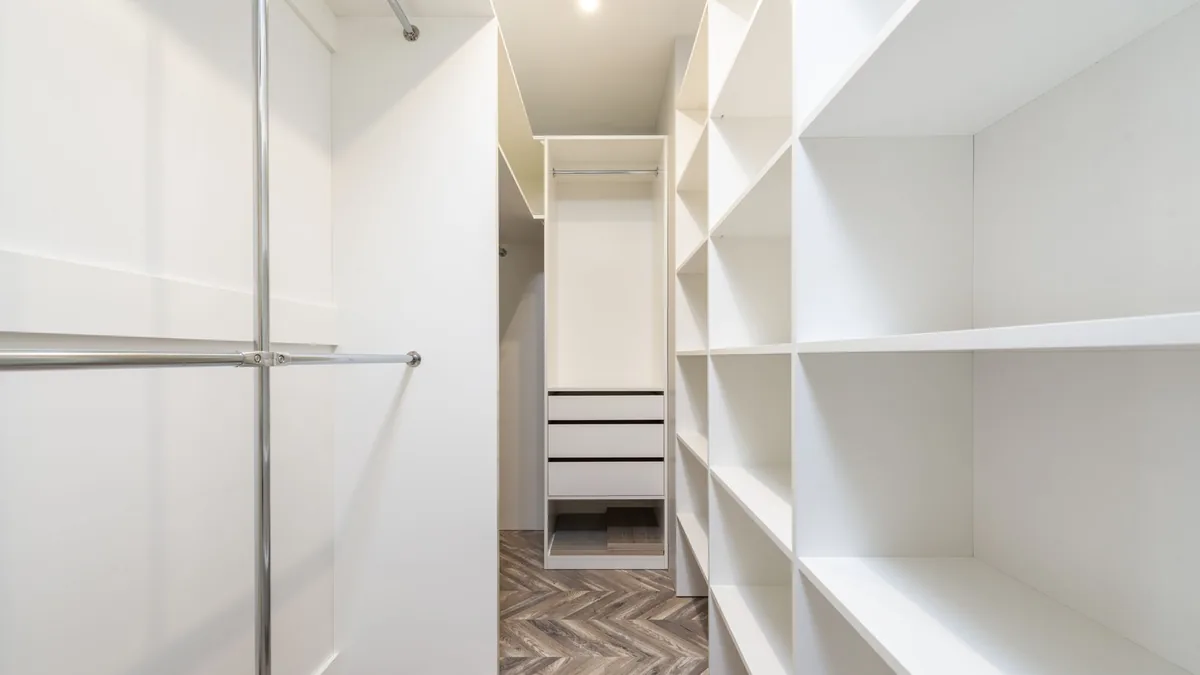
The shelf is bowing under the sweaters and there is one rod, packed so tight you can’t pull a shirt out. Stacking bins on that shelf, or buying a whole system before you know your wall, just moves the problem. Below is the order for building your own: pick the build, measure and draw it, buy the boards and hardware, cut and assemble a shelf tower, then anchor it and hang the rods.
The short answer
| Build | Maker’s own difficulty and time | Tools the maker names |
|---|---|---|
| Add shelves and a rod to the existing closet with wire shelving on wall track | Not rated | Hacksaw or bolt cutter for shelves, pipe cutter for rods, drill |
| Plywood shelf tower with a ledger and rods | One plan: moderate, 3+ hours | Pocket-hole jig, circular saw, drill, shelf-pin jig |
| Wood kit you trim to fit | One kit page: 2 to 4 hours | Drill, level, screwdriver, fine-toothed saw |
Which DIY closet organizer should you build?
Three jobs sit under this one search, and they take different skills.
- Add a rod and shelves to the closet you have. ClosetMaid’s how-to guides cover wire shelving on wall track: shelves are cut with a hacksaw or bolt cutter, rods with a pipe cutter (recommended) or a hacksaw. It is the least woodworking of the three.
- Build a shelf tower from plywood. Kreg’s modular closet organizer plan is two towers with adjustable shelves plus a wide cubby, built from two sheets of 3/4 inch plywood plus 1x4 rails and a ledger, and the plan calls it moderate, 3+ hours. The same site’s DIY closet system plan is labelled easy. The rest of this article follows the modular plan.
- Install a kit. A cut-to-fit wood kit skips the cutting list: one maker’s kit page says 2 to 4 hours and a drill, a level, a screwdriver and a fine-toothed saw. It is covered at the end.
What do you measure and draw before you cut?
Draw the closet front-on on paper and write these on it. For heights by zone and what goes where, use our closet organizer guide; the numbers below are only the ones the build needs.
- Width wall to wall, and depth from back wall to the inside of the door frame. One kit maker advises 12-inch-deep shelves for every reach-in, even one 26 inches deep, to leave room for the door header. Kreg’s tower is 15 3/4 inches deep, deeper than that 12 inches, so check the door header and frame depth against it before you cut (our suggestion).
- Height floor to ceiling, and to the underside of any header. A low ceiling decides whether the top shelf and upper rod can go where you want them.
- Door opening, and whether the doors slide. With sliding doors only half the opening shows at a time, so keep towers and drawers out of the overlap between the two doors (our suggestion).
- Studs. Find and mark them on the wall before you fix any dimension; Kreg’s plan does this right after taking out the old shelf and rod. Stud centers set where a ledger can be screwed, so a tower may need to shift to meet one (our suggestion).
- Rod heights. For a double-hang section, one maker’s guide gives the upper rod at a standard 80 to 82 inches (it suggests considering 84 for taller adults) and the lower typically at 40 to 42, with at least 36 inches between rods. ClosetMaid’s wire shelves for the same job sit at 85.5 and 42 inches (84 and 42 on another part of the same page), and long hang at 71.5 or 70. That kit maker’s product FAQ puts the top shelf at 84 and the second bar at 48; a bar 2 inches below an 84-inch shelf is at 82, leaving 34 inches to a 48-inch bar, under the 36 the other page asks for (our arithmetic).
- Distance from the back wall. The rod guide says at least 12 inches; the kit’s FAQ sets its bars 10.25 inches out. Draw the rod at one of these distances; the plan gives no bracket position, so see the mounting step.
What do you buy: boards, rods and fasteners?
Boards. The plan’s towers use 3/4 inch plywood for sides, tops, bottoms and shelves, and 1x4 boards for the rails and the 72-inch ledger. Its drawer-based sibling, DIY Closet Organizer with Drawers, runs 3/4 inch plywood shelves 33 3/4 and 36 inches long, 11 1/4 inches deep, with 1x4 cleats, and edge-bands the visible edges. Fill voids in plywood edges and sand them smooth before painting, the modular plan says. The pages used here give no span table for plywood, MDF or melamine shelves, so we can’t give you a safe length for any of them; keep to the lengths the plans print, supported as they show, and see the mistakes section for what to do beyond.
Rods and brackets. The modular plan’s list is 2 closet rods of 8 feet cut to fit and 4 pairs of closet rod brackets. If you would rather hang on wire shelving, ClosetMaid’s guide has rod supports where two rods join and rod caps on the ends to keep hangers in place.
Fasteners. From the same plan: 65 1 1/4 inch coarse-thread pocket-hole screws, 44 1/4 inch shelf pins, 8 #12 x 3 inch screws for studs, and 6 heavy-duty wall anchors if needed. For ClosetMaid’s track the hardware depends on the wall: toggle bolts in drywall in 1/2 inch holes, #12 x 2 inch screws at studs, and #12 anchors in 1/4 inch holes in concrete.
Cut list (Kreg’s plan, our arithmetic). The plan lists 23 plywood parts: 4 tower sides at 15 3/4 x 70 1/2, 2 tower tops and 2 bottoms at 15 3/4 x 11 1/2, 10 tower shelves at 9 7/8 x 15 3/4, 2 cubby sides at 15 3/4 x 22 1/2, a cubby top and bottom at 15 3/4 x 23 1/2 and a cubby shelf at 15 3/4 x 21 7/8. Add the 1x4 parts: 2 tower rails at 10, a cubby rail at 22, and the 72 inch ledger. Those 23 parts come to about 8,515 square inches, 92% of the 9,216 in the two sheets it lists, before saw kerf (our arithmetic). Change a width and you can lose that margin, so redo the sum before you buy.
How do you cut and assemble the shelf tower?
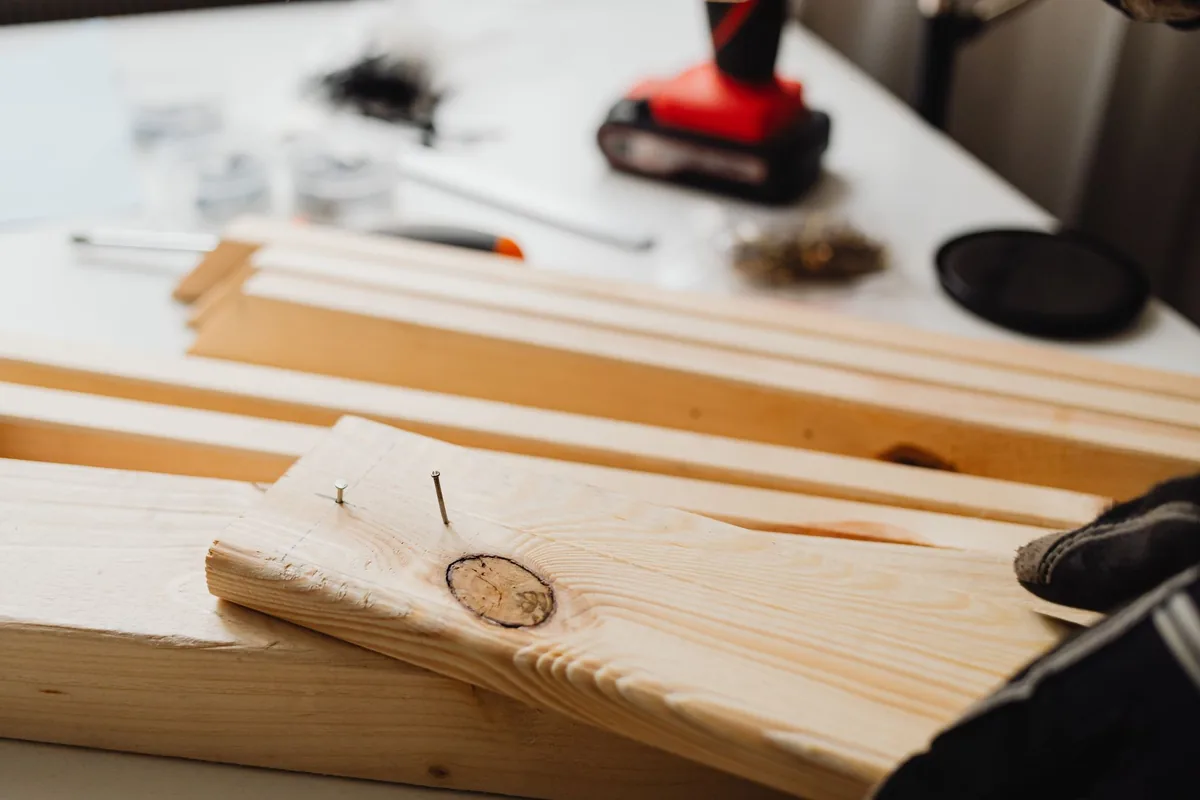
Steps are from Kreg’s modular plan; the ones marked (our suggestion) are ours. As printed, the plan’s towers are 11 1/2 inches wide and the cubby 23 1/2 (tops and bottoms cap the sides), all 15 3/4 inches deep, about 46 1/2 inches side by side (our arithmetic); the plan says to build it as shown or arrange it differently.
- Cut the plywood to the plan’s sizes, or resize the parts to your drawing first (our suggestion; the drawers plan says you can change widths, and the other dimensions change with them). Mark each part as you cut, since several are close in size.
- Cut the rails from a 1x4 and drill pocket holes in them for 3/4 inch stock.
- Drill pocket holes in the inside faces of the tower sides.
- Drill shelf-pin holes in the sides with a shelf-pin jig, which gives even spacing and level shelves from side to side. The plan’s vertical spacing between holes is 1 1/4 inches, so each shelf moves in 1 1/4 inch steps.
- Assemble each tower from sides, top and bottom with 1 1/4 inch coarse-thread pocket-hole screws, then screw in the rail.
- Build the cubby the same way, but drill its pocket holes in the outside faces of the cubby sides (the towers’ are on the inside faces) and its shelf-pin holes in the inside faces.
- Check the height before painting (our suggestion): the tower stands on a ledger 12 inches off the floor, so its top is about 84 inches up (12 inch ledger + 70 1/2 inch sides + the 3/4 inch top and bottom; our arithmetic); compare that with your ceiling, header and the rod heights you drew.
- Fill, sand, paint now. The plan fills voids on the front edges and paints before installing, because it is much easier out of the closet.
How do you mount it and hang the rods?
- Clear the wall. Take out the old shelf and rod, then mark the studs.
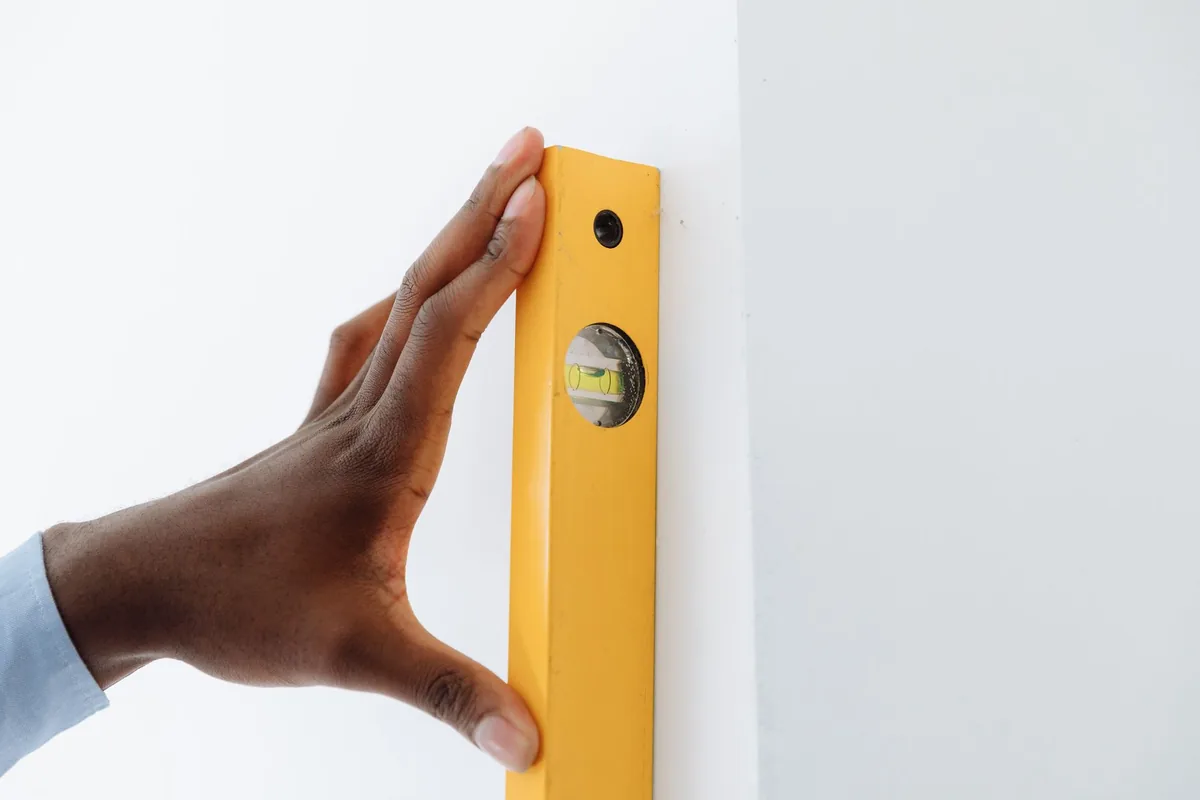
- Fix the ledger. The plan’s ledger is a straight 72-inch 1x4 with its top edge 12 inches above the floor. Level it, then drive a #12 x 3 inch screw through it into each stud.
- Set the first tower on the ledger with a helper, check it is plumb, and drive a #12 x 3 inch screw through its rail into a stud. If you can’t reach a stud, the plan uses two heavy-duty wall anchors per tower and cubby.
- Lock the tower to the ledger with two 1 1/4 inch pocket-hole screws through the tower bottom into the ledger’s top edge. They are self-tapping, so no pre-drilling, and you will have to angle them slightly.
- Add the cubby, then the second tower. Tie the three together with a couple of pocket-hole screws through the cubby sides into the tower sides.
- Slide in the shelves on their pins, then add the rods. The plan’s text gives only what each rod is for (one for long dresses and coats, shirts above folded pants on the other side) and leaves placement and number to you; it lists 4 pairs of rod brackets but does not say where they go or which screws, so follow its drawings. For the heights you drew, a bracket on a tower side needs a screw shorter than the 3/4 inch plywood is thick, and one on a side wall goes into a stud or an anchor (our suggestion).
- Check the load before you fill it (our suggestion): put the heaviest stack on first, look for any shelf bowing or a rod bracket moving, and re-tighten. The maker of the kit below rates its system at 25 lb per lineal foot, up to 1,200 lb when anchored to studs; that is a figure for that product, not for a plywood build.
Fitting a ledger and towers is a drill-and-level job of the same kind as the weekend projects in our home improvement roundup.
What mistakes make a DIY closet organizer fail?
- Fixing into drywall alone. One kit maker says to anchor brackets into studs to prevent sagging and pull-out; Kreg’s plan treats anchors as the fallback.
- Rods too close to the wall or each other. At least 12 inches off the back wall in one guide, 10.25 in the kit, and at least 36 inches between double-hang rods.
- Cutting wire shelving at the wrong end. ClosetMaid advises cutting from the end that will sit against the wall, with the cut centered between wires so an end cap fits.
- Spreading wall standards too far apart. On ClosetMaid’s track, no more than 24 inches apart and no more than 4 inches from the end of a shelf.
- Painting after install. It is much easier to do before, per the plan.
- Letting a long shelf run unsupported. The plans above give no span limit. The 36 inch plywood shelf in Kreg’s drawer plan is held along its length by a 36 inch 1x4 cleat screwed into studs, so for a shelf longer than that plan’s, add a cleat or a middle support (our suggestion).
When is a kit the better buy?
If the rod and shelf are sound and you only want more room, or you’d rather not cut 23 plywood parts, a kit trades your time for money. The John Louis Home Solid Wood Closet Organizer System ships a 6 ft tower, five shelves, three metal garment bars and the hardware, to be cut to fit layouts up to 10 ft wide, or 12 ft in one configuration. It costs $654 for the 12-inch depth ($769 for 16 inches), Price for reference only. It is a different design from the plywood build above: shelves and bars are wall-mounted and the page calls for stud anchoring. For layouts and rod heights by clothing type, see the closet organizer guide above; to sort what goes in first, see how to organize a closet.
Where these numbers come from
Steps, parts and fasteners are from Kreg’s plans and ClosetMaid’s guides; rod heights, kit contents and the $654 price are from the John Louis Home pages, all read on 31 October 2026. The 8,515 square inch total and the 34 inch gap are our arithmetic.
Frequently asked questions
How do I build a closet organizer myself?
One maker's free plan does it in this order: cut 3/4 inch plywood into tower sides, tops, bottoms and shelves; drill pocket holes and shelf-pin holes; assemble and paint the towers before they go in; screw a level 1x4 ledger into the wall studs; set each tower on the ledger, plumb, and screw it to a stud; then add the rods. The plan labels itself moderate and 3+ hours.
How high should the second closet rod go?
One solid-wood maker's guide puts the lower rod of a double-hang section typically at 40 to 42 inches and the upper at a standard 80 to 82, with at least 36 inches between them, and suggests considering 84 for the upper rod for taller adults. The same maker's product FAQ gives 48 inches for the second bar; under a bar at 82 that leaves 34 inches (our arithmetic), so check the gap before you drill.
How do I keep DIY closet shelves from sagging?
Keep the unsupported span short. One maker's wire-track guide says its wall standards go no more than 24 inches apart and that closer standards are stronger; one plywood plan keeps its tower shelves between sides that are about 10 inches apart, and a drawer plan on the same site holds its long 36 inch shelf on a full-length cleat. None of the plans or guides here gives a span table for plywood shelves, so for a shelf longer than those, add a cleat or middle support (our suggestion).
Do closet shelves and rods have to go into studs?
One plan screws its ledger into every stud it crosses and uses heavy-duty wall anchors only where a tower cannot reach a stud. One kit maker's 1,200 lb rating applies when its system is anchored into wall studs. Anchors are the fallback in that plan.
- #closet shelving
- #closet rod height
- #closet organizer ideas