How to Install Laminate Flooring: Prep, Underlayment, Rows
Install laminate flooring step by step: subfloor tests, underlayment, box wait, wall gap, row layout, cuts around pipes and trim, using three makers' numbers.
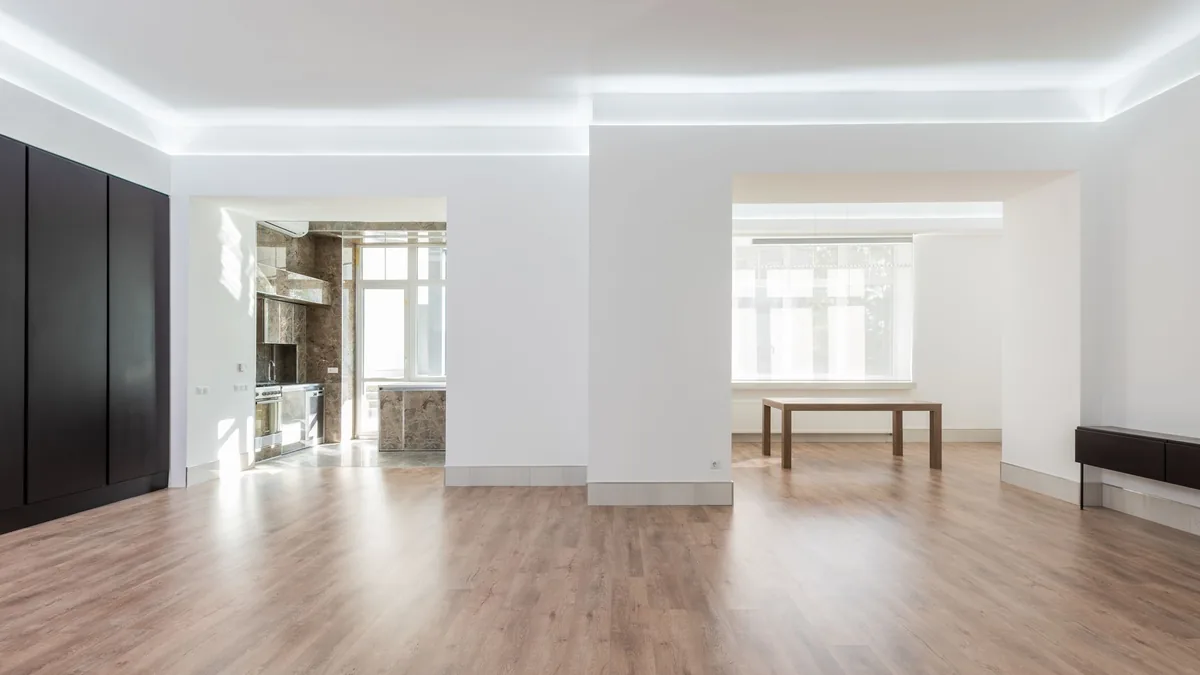
The planks click together, and the trouble starts with the line on the maker’s sheet that got skipped. A laminate floor expands and contracts with temperature and humidity, one Pergo guide ties buckling to skipping the wall gap and the wait for the boxes, and the care section of Shaw’s Repel instructions recommends a humidifier against excess shrinkage from low humidity in the heating season. Below is the job in the order you do it, with three makers’ numbers side by side, so you know which lines to find on your own box’s sheet.
The short answer
| Step | What decides it |
|---|---|
| 1. Check the room and subfloor | Climate-controlled indoor room with no floor drain or sump pump; flat within 3/16 inch over 10 feet (Shaw’s Repel: 1/8 inch over 6 feet); concrete and wood moisture tested |
| 2. Underlayment | Planks with no attached pad get a layer of underlayment; over concrete, 6 mil polyethylene with seams overlapped 8 inches or more. Planks with a pad attached need none, and Pergo allows adding FloorMate (with FloorMate, Pergo says no separate film; see below) |
| 3. Let the boxes settle | 48 hours at 60 to 85°F in Pergo’s document; none in Shaw’s Repel instructions if the room is climate controlled |
| 4. Decide before row one | 3/8 inch gap on all sides; where the T-molding goes (doorways under 32 inches and rooms of 50 feet or more in Pergo’s document); cabinets not fixed to the floor |
| 5. Plan the rows | Measure across the planks; Shaw’s Repel instructions allow no last row under 2 inches, so cut the first row down if the last would be narrow |
| 6. Lay and lock | Spacers along the walls; end joints at least 12 inches apart from row to row; tap no closer than 8 inches from either end; pull bar on the last row |
| 7. Cut around things | Undercut door casings; 3/8 inch around pipes |
| 8. Finish | Spacers out; seal the perimeter as your sheet says; trim fixed to the wall, not the floor |
The three documents used throughout are Pergo’s laminate installation instructions (March 2026 edition), Quick-Step Studio’s laminate installation instructions (April 2025 edition) and Shaw’s Repel water-resistant laminate instructions (revision January 2022). Each covers only its own planks, and the edition date is printed on the sheet: check it against yours.
| Pergo | Quick-Step Studio | Shaw Repel | |
|---|---|---|---|
| Subfloor flatness | 3/16 in per 10 ft | 3/16 in per 10 ft | Fill low spots deeper than 1/8 in over 6 ft |
| Concrete moisture | Test required; 4.0% on a concrete meter, or 5 lb per 1,000 sq ft per 24 h, or 80% RH | 5 lb per 1,000 sq ft per 24 h or under 80% RH; test strongly recommended | 4% on a meter; above that, calcium chloride test at 5 lb |
| Wood subfloor moisture | 12% or less, within 4% of the flooring | 12% or less | 12% or less |
| Vapor barrier over concrete | 6 mil polyethylene, seams overlapped 8 in or more | 6 mil polyethylene, seams overlapped 8 in or more | 6 mil polyethylene for pad-attached planks, seams overlapped 6 to 8 in and taped |
| Boxes | 48 h at 60 to 85°F, 35% to 65% RH, unless already at living conditions | Acclimate unopened; its drawing shows 48 h | None if the room is climate controlled |
| Gap at walls and fixed objects | 3/8 in | 3/8 in | At least 3/8 in |
| Narrowest last row | No number printed | No number printed | Never under 2 in |
| End-joint offset | At least 12 in; first piece at least 8 in | At least 12 in; first piece at least 8 in | At least 12 in (12 to 16 in on one line); start piece at least 12 in |
| T-molding | Doorways under 32 in, a change of direction, rooms 50 ft or more | Doorways 4 ft or less, rooms 40 ft or more | Recommended at doorways 36 in or less that have a door and a frame, and every 45 ft |
Can this room take a laminate floor?
Which rooms. Each of Pergo’s and Quick-Step’s documents calls its planks suitable for climate-controlled indoor installations only (35% to 65% relative humidity, 60 to 85°F), above, on or below grade, and says not to install in a room with a floor drain or over any floor with a sump pump. Bathrooms depend on the line. Pergo’s guide for its water-resistant Outlast+ planks (revised January 2018) allows them in bathrooms as long as water can’t get under the floor: all expansion spaces filled with 3/8 inch PE foam backer rod and covered with 100% silicone, a T-molding with a sealed expansion space at the doorway to the next room, and no floor drain. Shaw’s Repel instructions call Repel water resistant, not waterproof, and ask for silicone caulk at tubs, toilets, sink areas and perimeters, wherever surface water will reach. If your box doesn’t say water resistant, ask the maker before putting it in a full bathroom (our suggestion); how to tile a bathroom floor covers the other route.
What has to come up. Carpet and padding come up, and so does any wood flooring installed on concrete (Pergo, Quick-Step). Shaw’s Repel instructions allow its planks over most existing floor coverings except carpet, and also want wood flooring glued to concrete removed. Pergo’s and Quick-Step’s documents say not to remove old products unless they are asbestos-free; Shaw’s warns that previously installed resilient flooring may contain asbestos fibers or crystalline silica, to presume it does unless you are positively certain it doesn’t, and that regulations may govern removal.
Flat enough. Pergo and Quick-Step allow no more than 3/16 inch of unevenness per 10 foot span: remove bumps or peaks, fill depressions with floor leveling compound. Shaw’s Repel instructions fill low spots deeper than 1/8 inch over 6 feet with a Portland cement leveling compound, checked with a 6 foot straightedge, and sand or grind high spots. Leveling compound has its own cure time; read it on the bag before you pick the install day (our suggestion).
Moisture. Pergo’s document requires a concrete test (ASTM F2659 meter, F1869 calcium chloride or F2170 in-situ probe) with the result recorded at the time of installation: 4.0% moisture content on the meter, 5 pounds per 1,000 square feet per 24 hours, or 80% relative humidity, and if the slab is outside those numbers the flooring should not go down until it is in range. Quick-Step’s document strongly recommends the test, with 5 pounds or under 80% RH as the limits. Shaw’s Repel instructions use a 4% meter reading and, above that, a calcium chloride test with a 5 pound limit. For wood subfloors all three give 12% or less; Pergo adds that the difference between subfloor and flooring may not exceed 4%.
Which underlayment, and do you need a vapor barrier?
Rigid vinyl plank is a different job (how to install vinyl plank flooring); for laminate, the first question is whether your planks come with a pad attached.
- Planks without an attached pad. Pergo and Quick-Step: install over a single layer of underlayment appropriate for laminate floors. An older Pergo guide adds not to install over multiple layers of acoustic underlayment.
- Planks with an attached pad. No separate pad is needed. Pergo’s document says it is acceptable to add Pergo FloorMate underlayment if desired (Quick-Step’s names Pergo Gold), with foam edges sealed with tape and any rips repaired, and that a separate vapor barrier should not be used with it.
- Over concrete. A 6 mil virgin polyethylene vapor barrier with seams overlapped 8 inches or more (Pergo, Quick-Step). Pergo’s and Quick-Step’s items point two ways if you add FloorMate (Pergo) or Pergo Gold (Quick-Step) on concrete: the concrete item says to install the vapor barrier first, and the underlayment item says not to use a separate one with it, so follow the underlayment instructions that item points to, or ask the maker, before laying film. Shaw’s Repel instructions: for planks with a pad attached, at least 6 mil polyethylene on concrete, seams overlapped 6 to 8 inches and taped, and no extra plastic on a wood subfloor. For planks without a pad, Shaw says to follow the instructions that come with the underlayment you chose.
If your planks are Pergo with a pad attached and you want the extra layer its document allows, Pergo FloorMate is a 100 sq ft roll at $69.00 at Home Depot Price for reference only; the retailer’s page lists it as including a vapor barrier and as approved for Pergo laminate with an attached pad. Pergo’s document says not to lay a separate vapor barrier with it.
How long do the boxes need to sit in the room?
- Pergo: 48 hours at 35% to 65% RH and 60 to 85°F, unless the planks arrive at a moisture content and temperature that already match normal living conditions and those conditions are kept, in which case no on-site acclimation is required.
- Quick-Step Studio: acclimate the unopened product; the drawing for that step shows 48 hours at the same conditions (our reading). With no time, keep the difference between where the planks were stored and the room to no more than 25°F and 20% relative humidity.
- Shaw Repel: no wait if the room is climate controlled before and during installation, with 65 to 85°F and 35% to 65% RH during the job, and cartons kept away from heating or cooling ducts and direct sunlight.
Older printed sheets differ: a 2014 Pergo guide asked for unopened cartons lying flat for 48 to 96 hours, and at least 96 hours in very dry or very humid climates. Use the sheet from your box. As you open each carton, check the planks: Shaw’s instructions say not to install a damaged plank, and Pergo’s and Quick-Step’s say to blend planks from several cartons at the same time for color and shade (Shaw’s: three cartons at a time).
What do you decide before the first row?
- The gap. 3/8 inch on all sides (Pergo, Quick-Step) or at least 3/8 inch (Shaw’s Repel instructions), and Shaw’s planning page for its waterproof laminate says to always leave 1/2 inch around the perimeter and fixed objects (that page is not the Repel document). Pergo’s and Quick-Step’s documents list 3/16 inch spacers: two spacers thick side to thick side make the 3/8 inch.
- Long runs and doorways. In Pergo’s document the floor needs a T-molding in doorways under 32 inches, where the installation changes direction through a doorway, and in rooms 50 feet or more in length or width. Quick-Step’s says doorways of 4 feet or less and rooms of 40 feet or more. Shaw’s Repel page recommends one at doorways of 36 inches or less that have a door and a frame and every 45 feet in length and width, and elsewhere on the same page says T-molding is required only for rooms over 2,025 square feet; ask Shaw’s line before planning around either number.
- Cabinets and anything fixed. Pergo’s and Quick-Step’s documents say floor movement must not be constrained by glue, nails, screws, hardware or other fixed obstructions. Pergo’s Outlast+ guide puts kitchen cabinets in before the floor, with planks run up to the kick plate and a 3/8 inch gap left; cabinets can go in after the floor only if they are not fixed to it, and an island can be anchored to the subfloor through holes oversized so the floor can still move.
- Direction. Shaw’s Repel instructions run the planks lengthwise against the longest wall and, if possible, parallel to incoming sunlight. The floor-installation pages of Pergo’s and Quick-Step’s documents give no direction rule.
How do you plan the rows?
Measure the room at a right angle to the way the planks will run, take off the gap at both walls, and divide by the plank’s face width, the part that shows once two planks are locked (measure a locked pair rather than trusting the box; our suggestion). What is left over is your last row. Shaw’s Repel instructions want the first row about the same width as the last and no last row under 2 inches; Pergo’s and Quick-Step’s documents print no minimum, so use Shaw’s 2 inches as a floor you shouldn’t go below (our suggestion).
A worked example (our arithmetic): a room 10 feet 2 inches across is 122 inches; with a 3/8 inch gap each side, 121.25 inches are left. With 7.5 inch planks, 16 full rows take 120 inches and leave a last row of 1.25 inches, under Shaw’s 2 inch limit. Add the 7.5 inch first row to the 1.25 inch leftover and split it: first and last rows of 4 3/8 inches each, with 15 full rows between them (112.5 + 8.75 = 121.25).
For the stagger, the first piece of each row is at least 8 inches long in Pergo’s and Quick-Step’s documents, new rows start with a piece trimmed from the row before, and end joints sit at least 12 inches from those in the next row. Shaw’s Repel instructions want a starting piece at least 12 inches long and a random stagger of at least 12 to 16 inches, with planks drawn from three cartons at a time.
How do you lay and lock the rows?
Tools. From the tool lists in Pergo’s and Quick-Step’s documents: tape measure, pencil, level, utility knife, hand saw, jigsaw, circular saw with a 40-tooth carbide-tipped blade, tapping block, pull bar, hammer, chisel, 3/16 inch spacers, moisture meter, PE foam backer rod, silicone sealant, wood glue, safety glasses, dust mask and gloves. Shaw’s Repel list is its own: broom, carbide-blade saw, eye and ear protection, glue, hammer, painter’s tape, pencil, pull bar, 6 foot straightedge, tape measure, utility knife, 3/8 inch wall spacers and a wood chisel.
Steps (Pergo’s and Quick-Step’s angle-in method unless another maker is named):
- Start at the left end of the starting wall and work to the right (Shaw’s Repel instructions; the drawings in the other two are labelled Left and Right). On a straight wall, those two documents have you assemble the first row tongue side toward the wall, with the tongue removed from the long-side joints and from the short side of the first plank only (their steps 2 and 4). Shaw’s Repel instructions also start with the tongue side against the starting wall.
- Put spacers between the planks and the wall, set to the gap above. On an uneven wall, trace the wall’s contour on the plank and cut it (Shaw’s: scribe it with a 2 inch square block and pencil).
- Build the first row: insert each plank’s end tongue into the end groove of the one before and rotate down, keeping the joints closed. Shaw’s Repel instructions put a 1/8 inch bead of tongue-and-groove adhesive on the end seams of the first row only, and tape them while the adhesive sets.
- Cut the last plank of the row to fit the wall, less the gap. Three separate rules apply in Pergo’s and Quick-Step’s documents: the first piece of a row is at least 8 inches long, new rows start with pieces trimmed from the row before, and end joints are offset at least 12 inches. Shaw’s Repel instructions want a starting piece at least 12 inches long; if the offcut is too short, start with a new board cut to one third, one half or two thirds length to keep a random stagger. The same fix should work with Pergo’s and Quick-Step’s 8 inch minimum and 12 inch offset (our suggestion).
- Row 2: join the short end of the plank to the one before it first (there will be a gap on the long-side joints when the plank is rotated down), then raise the plank’s outside edge about 1 inch, hold that angle while pushing it in until the edges meet, and rotate it down until the joint locks. Both documents raise the first plank of row 2 about 1 inch as well. A carton laid across the end of the row holds the installed planks in place.
- Alternate tap method: align the tongues and grooves, put the tapping block on the long side no closer than 8 inches from either end, and tap lightly until the joint is tight, then tap the end joint into place. Uneven tapping or excessive force may damage the joint.
- Keep checking the gap to the wall after each joint closes. Shaw’s Repel instructions say a joint that isn’t tight should be taken apart and reconnected, and that the planks can be engaged and disengaged several times.
- Last row: lay the plank to be used on top of the second-to-last row, use a full-width plank as a spacer to trace the wall’s contour, and cut. Fit the long-side tongue into the groove with the end joint aligned, and work a pull bar and hammer evenly along the plank to close the long side, then close the short side with the tapping block or pull bar.
- Where a plank can’t be angled into place, such as under a door jamb or at a cabinet kick base, Shaw’s Repel instructions chisel the locking ridge off the bottom of the groove, apply a 1/8 inch bead of adhesive, tap the plank in with a pull bar and tape the seam until it sets.
Cutting. Shaw’s Repel instructions cut planks face down with a power saw, or face up with a fine-toothed hand saw. Pergo’s and Quick-Step’s tool lists name a 40-tooth carbide-tipped blade.
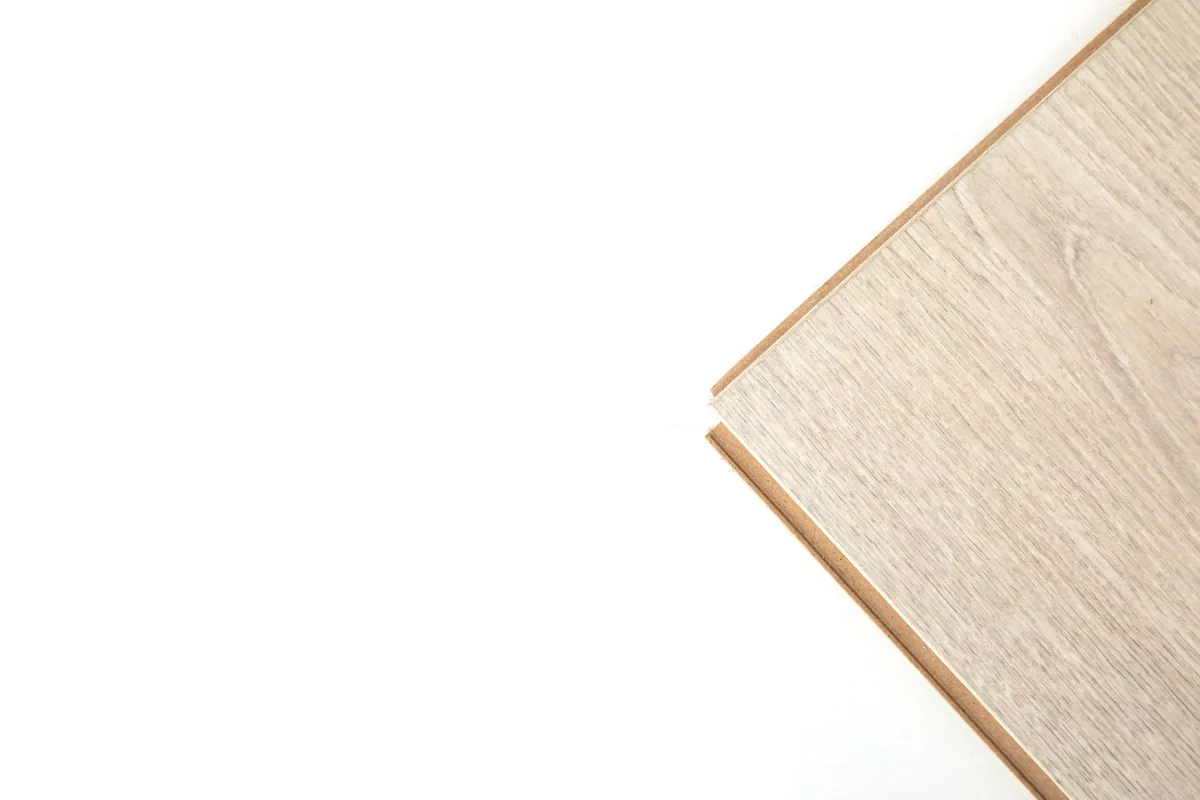
How do you cut around door casings, pipes and vents?
Door casings. Undercut them so the floor slides under with its gap hidden: Pergo’s and Quick-Step’s documents slide the flooring at least 1/4 inch under the door frame and wall base and leave a concealed 3/8 inch minimum expansion space under each. Shaw’s Repel instructions lay a loose plank upside down against the frame on top of the underlayment as the height guide, then saw the bottom of the casing back to the wall studs so the 3/8 inch gap is kept. A jamb saw or flush-cut handsaw does it (our suggestion). When you reach the doorway, slide the plank under the casing, tap the long-side joint closed first, then the end joint.
Pipes and other fixed objects. Pergo’s and Quick-Step’s documents allow 3/8 inch around pipes or other fixed objects; Shaw’s Repel instructions keep the same 3/8 inch around cabinets, pipes and toilet flanges. Our suggestion for the cut: measure from the last installed row and from the end of the previous plank to the pipe’s center, transfer both marks to the plank, and drill a hole the pipe’s diameter plus 3/4 inch (3/8 inch all round, our arithmetic). Then cut from the hole to the plank’s long edge on the side away from the installed rows, lock the plank in, and glue the cut-off piece back behind the pipe, gluing it to the plank rather than the subfloor. The gap gets the sealing described below.
Floor vents. None of the three documents covers cutting around floor registers. Our suggestion: lift the register out, transfer the duct’s edges to the plank the same way as for a pipe, and cut an opening the duct size plus your maker’s gap on each side, still small enough for the register’s rim to cover.
How do you finish the edges and doorways?
- Take out all the spacers.
- Seal as your sheet says. Pergo’s and Quick-Step’s documents want the entire perimeter sealed with 100% silicone or PerimeterSeal tape, not acrylic sealant (Quick-Step’s also lists a waterproof quarter round): fill the expansion spaces with 3/8 inch compressible PE foam backer rod, cover with silicone, put silicone on the part of the molding that touches the floor, wipe off the excess, and add silicone where the floor meets door frames and fixed objects. Shaw’s Repel instructions say to apply silicone caulk to bathtubs, toilets, sink areas, perimeters and any area where surface water will reach.
- Fit quarter round or baseboard wide enough to cover the gap, fastened to the wall and not the floor; Shaw’s planning page for its waterproof laminate says the flooring should not be fastened or bound in any way.
- Fit the T-moldings and transitions your layout called for, with the expansion space left under them.
- Put felt protectors under the legs of movable furniture, and rubber rather than plastic or metal chair casters (Pergo). The care section of Shaw’s Repel instructions says never to slide heavy objects across the floor.
The conditions on the sheet carry on after the last plank: Pergo’s and Quick-Step’s documents say acceptable job site conditions, including relative humidity, must be maintained throughout the lifetime of the flooring.
More flooring, paint and wallpaper jobs are in our home improvement guide.
Where these numbers come from
The numbers come from Pergo’s March 2026 laminate installation instructions, Quick-Step Studio’s April 2025 instructions, Shaw’s Repel installation page (revision January 2022) and its planning page for waterproof laminate, Pergo’s Outlast+ guide (revised January 2018) and an older Pergo guide (2014), and the Home Depot FloorMate listing, all read on 18 October 2026. The room width, plank width and row widths are our example and arithmetic.
Frequently asked questions
Do you need underlayment under laminate flooring?
It depends on whether the planks have a pad attached. Pergo's and Quick-Step's documents say planks without an attached pad go over a single layer of underlayment made for laminate, and over concrete they want a 6 mil polyethylene vapor barrier with seams overlapped 8 inches or more. Shaw's Repel instructions ask for 6 mil polyethylene over concrete for planks with a pad attached, and none over wood.
How big a gap do you leave around laminate flooring?
3/8 inch on all sides in Pergo's and Quick-Step's documents, and a minimum of 3/8 inch in Shaw's Repel instructions, though Shaw's planning page for its waterproof laminate says to always leave 1/2 inch around the room and fixed objects. The gap also goes around pipes and other fixed objects, and trim covers it.
How long should laminate flooring acclimate before installation?
Pergo's document says 48 hours at 60 to 85°F and 35% to 65% humidity, unless the planks already match normal living conditions. Shaw's Repel instructions need no wait if the room is climate controlled before and during installation. An older Pergo guide gave 48 to 96 hours, so follow the sheet in your own box.
Can you put laminate flooring in a bathroom?
Only some lines, and with conditions. Pergo's guide for its water-resistant Outlast+ planks (revised January 2018) allows bathrooms if all expansion spaces are sealed and there is no floor drain; Shaw calls its Repel planks water resistant, not waterproof. Pergo's and Quick-Step's current documents say not to install in a room with a floor drain.
- #laminate flooring
- #flooring installation
- #floating floor
- #underlayment