Patio Ideas: Plan the Floor, Shade, Privacy and Plants
Patio ideas in order: fix the slab, add shade where you sit, screen the view, add plants. Steps and numbers from makers' guides and an extension sheet.
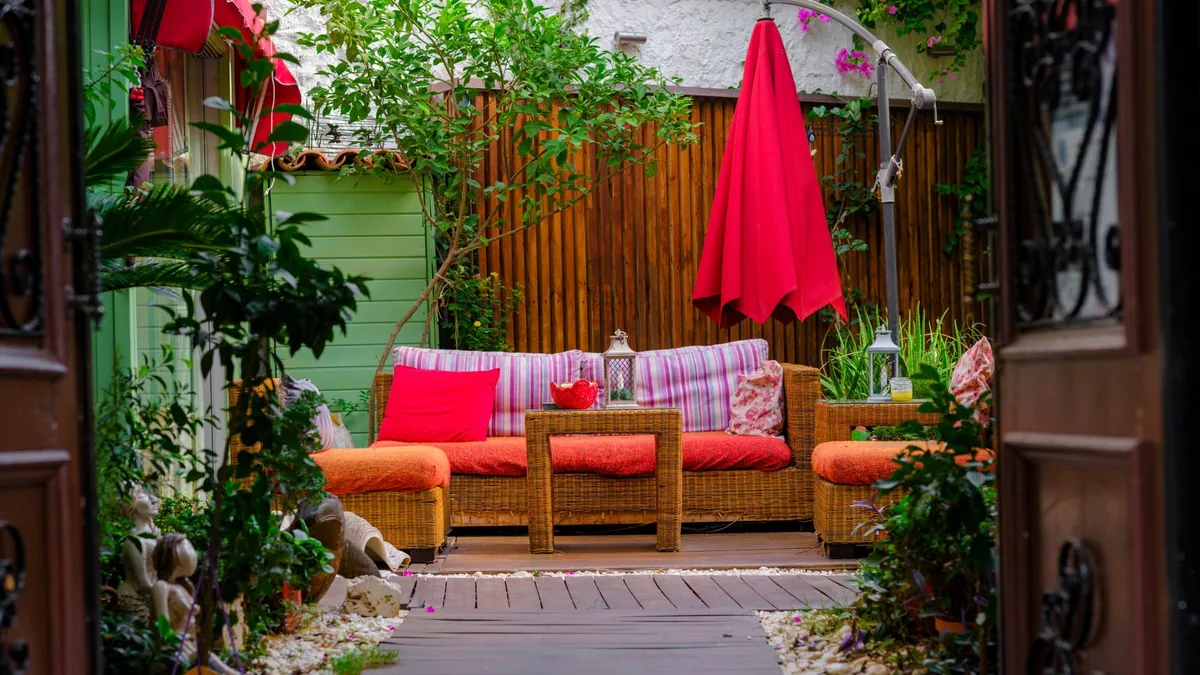
The slab off the back door is bare, the afternoon sun bounces off it, and the neighbors can see every chair, so nobody goes out there. Buying a table set first leaves it sitting in the same glare on the same concrete. Below is the order to work in: pick the use and watch the sun, fix the floor, add shade where you sit, screen the view with plants and screens, then bring in furniture and light.
The short answer
| Step | What to do | Number to check |
|---|---|---|
| 1. Use and sun | Pick one or two uses, then watch where sun and shade fall in the morning, at noon and in the afternoon (our suggestion) | A sail’s shade only sits directly under it at midday in midsummer |
| 2. Floor | Stain the slab, or click deck tiles over it, or leave it for a rug | One maker’s stain: 50 to 90°F, 3 to 4 days to heavy foot traffic. One tile set: $29.99 (price for reference only) for 8.72 sq ft |
| 3. Shade | An umbrella sized to the table, a shade sail, or a pergola | One maker’s chart: 8 ft canopy for a table up to 48 in, base at least 50 lb |
| 4. View and wind | Screens, tall planters, pots with drainage holes | One extension sheet: a tomato needs a pot at least 20 in wide |
| 5. Furniture, light, warmth | Last, once you know where the shade and screens sit | See the furniture and fire pit guides |
What is the patio for, and where does the sun land?
Pick one or two jobs for the slab before you spend anything: morning coffee, weeknight dinners, a reading chair (our suggestion). The job decides where the seating goes, and the sun decides where the shade has to go with it.
Then watch it for a day. On a clear day, look at the slab in the morning, at noon and in the mid-afternoon, and note where the shadows of the house, fence and trees fall, which corner is hottest and where the neighbors’ windows look in (our suggestion). The sun moves from east to west and the shade moves with it, which is why one maker’s shade-sail instructions note that shade falls directly under a sail only at midday in midsummer. Mark the hot corner and the overlooked side on a sketch: steps 3 and 4 use them.
If the slab is small, the layouts by square footage and the clearances chairs need are in our guide to small patio ideas; this guide stays with what you do to the patio itself.
What do you do to the floor first?
Do the floor before anything stands on it. Sweep the slab, wash it, and look for cracks, low spots where water sits, and oil or old paint (our suggestion). Then pick one of three routes.
Stain or paint the concrete
One maker’s technical data sheet for a waterborne acrylic concrete stain, a solid low-sheen finish listed for patios among other surfaces, shows what the job involves. Check the label of whatever you buy, because products differ.
- Let new concrete cure. New exterior concrete needs a minimum of 30 days before coating.
- Clean it. Scrub with a heavy-duty cleaner or degreaser, let it stand 5 to 10 minutes, and rinse before it dries.
- Open the surface. Smooth, hard, bare concrete has to be abraded or acid etched until it feels like 100 to 120 grit sandpaper and absorbs water droplets quickly. Prepared concrete should have a pH of 10 or less. On a surface that is already coated, the sheet says not to acid etch: loose or peeling coating comes off, sound water-based coatings are sanded, holes and cracks are filled with patching material, and it highly recommends its bonding primer over properly prepared painted surfaces. On bare concrete, fill holes and cracks first too (our suggestion). Sanding old paint can release lead dust, and the sheet says to wear a respirator.
- Dry it out. Leave several warm, dry days after cleaning. The sheet also describes a moisture test: tape an 18 by 18 inch piece of polyurethane plastic flat to the slab on all four sides for 24 hours; water on its underside means wait several days and test again.
- Pick the day. Air, material and surface should all be between 50 and 90°F, and the sheet says to avoid direct sun in the hottest part of the day and not to apply if rain is prevalent or expected within 48 hours. On a slab that bakes, that means early or late in the day (our reading).
- Apply two coats. It is a two-coat process. Do not thin it, and keep a wet edge. A 3/8 to 1/2 inch synthetic-nap roller is the listed tool. Coverage is 175 to 350 square feet per gallon, so a 10 by 12 foot slab (120 sq ft) with two coats is 240 sq ft of coverage, which is about 0.7 to 1.4 gallons (our arithmetic).
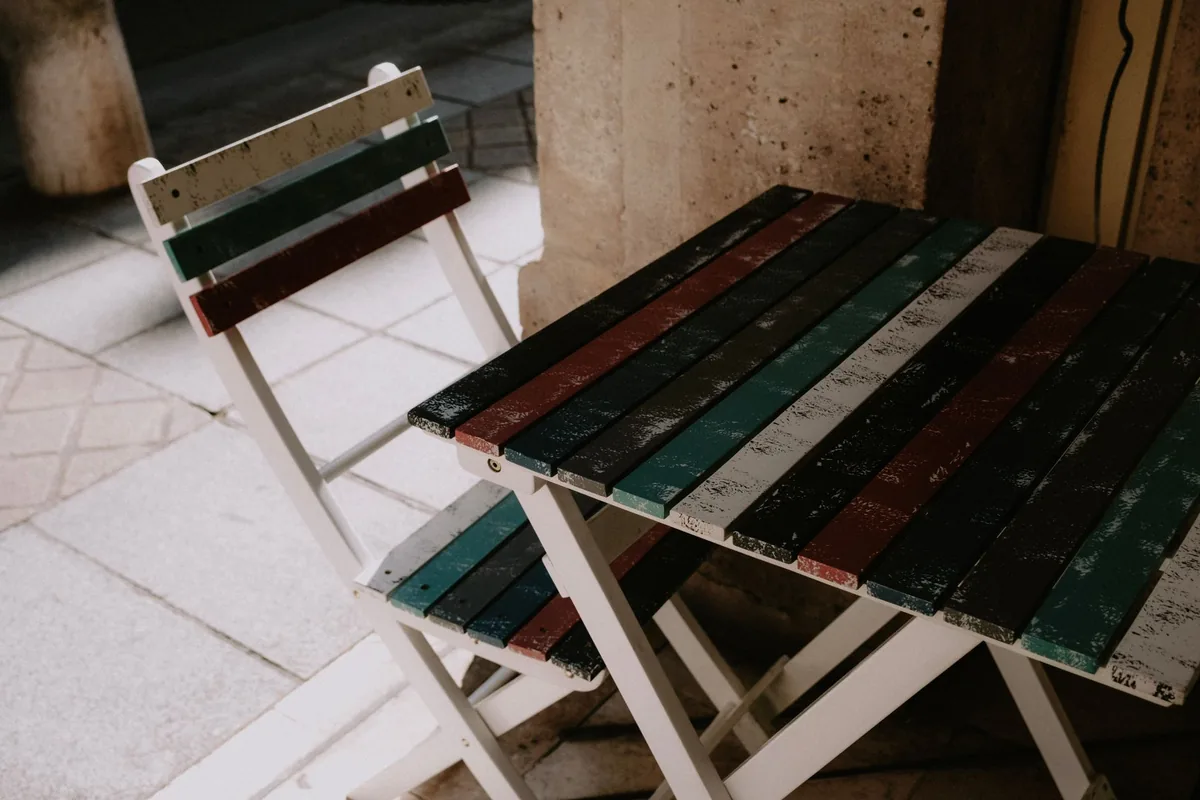
At 77°F and 50 percent humidity the sheet lists 2 hours to touch, 2 to 4 hours to recoat, 4 to 6 hours to light foot traffic and 3 to 4 days to heavy foot traffic; low temperature, high humidity, thick films, rain and dew all add time. It gives no figure for furniture, so keep furniture off for at least the heavy-traffic window, longer if the weather is cool or damp (our suggestion). The sheet also warns that the finish is slippery when wet and can take an anti-slip aggregate, which is worth asking about for a patio that gets rain. The drawback: it is a film over the surface.
Click deck tiles over it
Tiles skip the cure and drying times. On IKEA’s page for its RUNNEN decking the tiles click together and are suitable for hard, even surfaces like concrete, stone and wood. They can be cut to go around a corner or a pole, and taken apart again to clean the floor underneath. The same page notes they may become hot in direct sunlight over a longer time, which matters on a slab that is too sunny to begin with. A pack of nine 12 inch tiles covers 8.72 square feet and costs $29.99 (Price for reference only). Our arithmetic for the 10 by 12 foot slab: 14 packs cover it, about $420, before any waste from cutting.
Check the slab first. Tiles that need a hard, even surface will not hide a slab that heaves, and where the water runs off after rain decides where it ends up under the tiles (our suggestion).
An outdoor rug
A rug is the quick option and goes last, on a finished floor. How big it should be is in our small patio guide’s outdoor-rug rules, from one maker’s size guide.
How do you add shade where you sit?
Put the shade over the seat, not over the slab in general, and use the hot corner you marked.
An umbrella sized to the table
One umbrella maker’s size chart, printed on its replacement-canopy page, pairs canopy size with table size:
| Canopy | Round table up to | Area coverage | Base, at least |
|---|---|---|---|
| 6 ft | 30 in | 30 sq ft | 35 lb |
| 8 ft | 48 in | 52 sq ft | 50 lb |
| 9 ft | 54 in | 65 sq ft | 50 lb |
| 10 ft | 62 in | 80 sq ft | 75 lb |
The chart gives the base weights as “at least” figures “for optimal sturdiness”. It also says its 8 ft size looks great free-standing between 2 lounge chairs, so a seating pair without a table can use one too (our reading).
A shade sail
One maker’s shade-sail instructions set the order:
- Check permits. Check with the local authorities for building regulations and required permits, and with the utility companies for underground services before digging holes for posts.
- Choose anchor points. They can be the house or fixed posts. If the sail attaches to an existing structure, the instructions say to be sure that location is structurally sound, and to ask a builder or engineer if you are unsure. The distance between adjacent anchors should be at least 10 percent more than the sail’s edge: 9.9 feet for a 9 foot square sail.
- Set high and low points. A flat sail is harder to tension and can catch rain and wind. Put the high points diagonally opposite each other, with a slope of about 15 degrees, a rise of 1 for every 3.75 of run. A shade-sail seller’s slope guide says a slope of 20 percent or more is ideal in most cases, about two feet of height difference over ten feet, and that larger sails and windy sites may need steeper angles. Both work out to roughly two to three feet of drop over ten feet (our arithmetic).
- Tension it. Attach the fixed links, then the adjustable ones, and tension until the fabric is taut with little or no creases.
- Take it down in persistent wind or snow. The instructions recommend taking the sail down during persistent winds or snow.
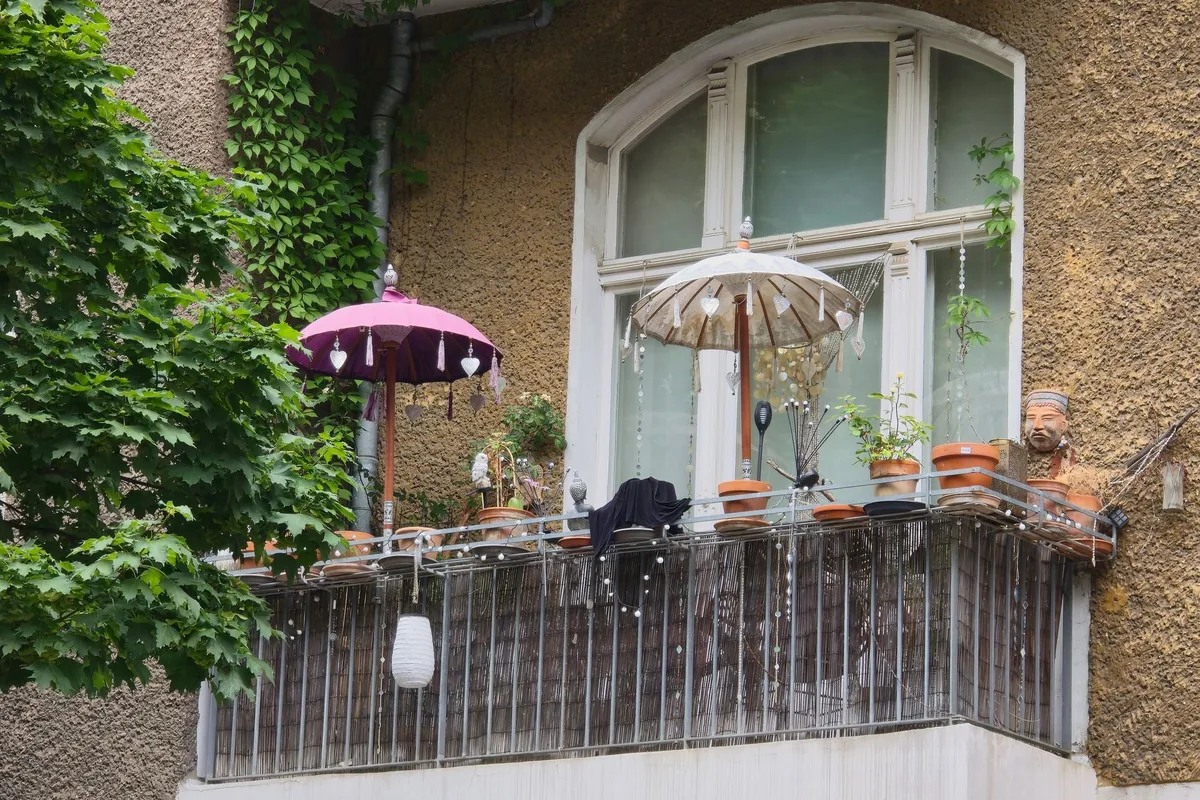
A pergola or an awning
A pergola roof cuts direct sunlight, and an attached pergola or awning pergola connects to the house wall. One maker’s pergola buying guide says to check with the local planning, zoning and building departments about permits and, if you have an HOA, to read the covenant for whether pergolas are allowed. It also recommends at least three feet of clearance on all sides, and lists a hammer drill as the tool for anchoring posts into existing concrete. Ask before you drill into the slab (our suggestion).
How do you block the view and the wind?
Work from the sightline. Sit where you will sit, have someone stand at the neighbor’s window or on the street, and mark the height at which the screen has to start: your own sightline sets it (our suggestion). Then pick what does the screening:
- A cabana-style pergola with wall panels. One maker’s pergola guide describes the cabana style as a semi-enclosed structure with solid or lattice-style wall panels for extra privacy.
- Tall planters. One maker’s balcony-planter guide says tall, narrow planters draw the eye up without using floor space, and that a slender evergreen can create a sense of privacy and height.
- Wind. One extension sheet on vegetables in pots says heavier cement or stone pots can help prevent top-heavy plants such as tomatoes blowing over. A screen adds wind load; anchor it as its maker says (our suggestion).
For the pots, an extension sheet on container vegetables gives numbers; they are for vegetables:
- Drainage: whatever it grows, a container should have drainage holes at the bottom so excess water can flow out.
- Size: a single tomato plant needs a pot at least 20 inches wide, peppers and eggplants can do in 14 inches, and all pots should be at least as tall as they are wide.
- Soil: fill with a soilless mix, not straight garden soil, which is typically heavy and dense and can stop the pot draining.
- Sun: tomatoes and peppers need at least 6 hours of sun a day, while lettuce and kale prefer some shade. This is where the sun watch in step 1 pays off: count the hours at the spot where the pots will stand (our suggestion). For flowers and shrubs, read the sun hours on the plant tag.
If you want more soil than pots hold, see how to make a raised garden bed.
What comes after the floor, shade and screens?
Furniture, warmth and light, in that order of importance. Choosing furniture by material and weather is in our patio furniture guide, and a fire pit has its own distances and rules in our guide to fire pit ideas. Light goes in last (our suggestion), once you know where the shade structure and screens are and where a plug or a hook can go.
Where these numbers come from
Stain steps and times are from one maker’s data sheet for one acrylic concrete stain; tile details and the price are from IKEA’s RUNNEN page; shade-sail steps are from Carefree of Colorado’s instructions and Shade Sails Canada’s slope guide; umbrella sizes are Midtown Umbrellas’ chart; permit and clearance advice is from POLYWOOD’s pergola guide; and the pot rules are Penn State Extension’s, for vegetables. All were read on 19 October 2026, and each applies to the product or crop it names. The price is the one the page showed without a code that day; pack counts, gallons and the slope comparison are our arithmetic.
Frequently asked questions
What order should you do a patio makeover in?
Floor first, then shade, then screens and plants, then furniture, warmth and light (our suggested order). The floor comes first because everything you add later stands on it, and a stain needs days before heavy foot traffic: one maker's stain lists 3 to 4 days at 77°F and 50 percent humidity, longer when it is cooler or damper.
Can you put deck tiles over a concrete slab?
One maker's click-together decking tiles are listed as suitable for hard, even surfaces like concrete, stone and wood, and that page notes they may become hot in direct sunlight over a longer time. Check the slab is level and sheds water before covering it (our suggestion).
How long before you can walk on a stained patio?
On one maker's acrylic concrete stain, light foot traffic is 4 to 6 hours and heavy foot traffic 3 to 4 days, at 77°F and 50 percent humidity; low temperature, high humidity, rain and dew add time. Check the label of the stain you buy.
Do you need a permit for a shade sail or pergola?
It depends on where you live. One maker's shade-sail instructions say to check with the local authorities for building regulations and permits, and one maker's pergola guide says to check with local planning, zoning and building departments and, with an HOA, its covenant.
- #patio ideas
- #patio makeover
- #concrete patio
- #shade sail
- #patio privacy