Patio Lighting Ideas: String Lights, Path Lights and Power
Plan patio lighting by job: light to eat by, soft light to sit in, safe steps and paths. Pick the power, set brightness and color, then hang and wire it.
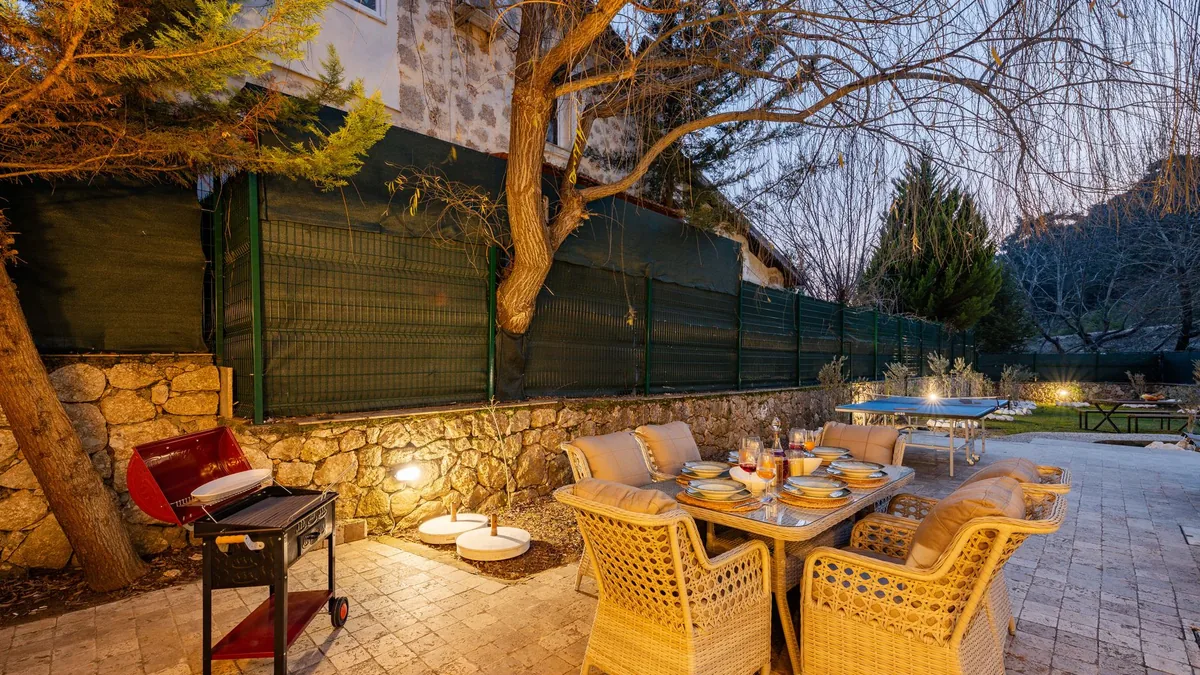
By dinnertime the patio is a black hole: one bright wall light glares at everyone sitting under it, the strand you bought stops short of the table, and the one outlet is across the path. That points to a single light being asked to do several jobs, with the power chosen last (our reading). Below is the order to plan it in: decide what each part of the patio needs light for, choose how it is powered, set brightness and color so the light stays on your side of the fence, hang string lights over the seating, light the path and steps, then check the safety points before you leave it on.
The short answer
| Step | What to decide |
|---|---|
| 1. Jobs | One light per job, in layers: the table, the seats, the steps and path, and the door (see our front porch guide for the door) |
| 2. Power | Plug-in needs a GFCI-protected outdoor outlet in reach; solar needs a spot for the panel in direct sun; low-voltage needs a plug-in transformer on a GFCI outlet, with no extension cord (one maker’s rule) |
| 3. Brightness and color | Warm color, shielded, aimed down, no brighter than needed; one retailer lists 12 to 100 lumens for step lights and 100 to 200 for path lights |
| 4. String lights | One maker’s guide: 7 to 10 ft above the ground, on guide wire, poles 15 to 25 ft apart (about 10 ft for heavier lights); link no more strands than the maker allows (2 for the 48 ft strand below) |
| 5. Path and steps | Space path lights by the fixture’s beam width; one path light’s guide: wiring no deeper than 6 in; use the gauge your transformer’s chart gives, and check your fixture takes it |
| 6. Before you leave it on | GFCI outlet tested monthly, outdoor-rated cords kept off walkways and out of doorways, lights rated damp or wet for the spot |
What does each part of the patio need light for?
Start from the jobs, not the fixtures. A good plan is built in layers, several sources that work together so no single light has to do everything. Sketch the patio on paper and mark each job below, plus the nearest outdoor outlet (our suggestion). Three questions to answer first, from one lighting maker’s planning page: where electricity is available, what the space is for, and whether your community has lighting restrictions such as dark-sky rules.
- The table: light to eat by. Over a covered table, a hanging light is the job: the maker lights task areas with a pendant or chandelier and suggests a pair of pendants over a dining area. On an open patio, one string-light maker’s page says a strand draped low over a table gives an intimate pool of light, while a higher zigzag across a yard spreads it evenly. Settle where the table goes first; our guide to outdoor dining sets for 6 has the footprint.
- The seats: low and soft. Wall lights along a sitting area or beside the back door can brighten gatherings. Keep the level low so the seats do not face a bare bulb (our suggestion).
- The steps, edges and path: safety. Step lights and path lights illuminate stairs and walkways so people can move around safely after dark. Steps and path are covered in the path-and-steps section below.
- The door. Lantern size, mounting height and bulb brightness at the door are in our front porch ideas guide, so they are not repeated here.
A fire pit is a separate project with its own distance rules, in our fire pit ideas guide, and is not counted as one of these jobs. If the floor, shade and screens are not settled yet, patio ideas puts light last in the order of work (our suggested order), because those choices decide where the light can go.
How will you power it?
Choose this before you buy anything: the power decides where each light can go.
| Power | What it needs from your patio | Figures from the makers’ pages |
|---|---|---|
| Plug-in string lights | A GFCI-protected outdoor outlet within reach of the plug; a covered, outdoor-rated route for any cord | One 48 ft strand: 110V plug-in, up to 2 strands end to end |
| Solar string lights | A place for the panel in direct sun, within reach of the strand’s first socket (3 ft of cable on the one below) | One 48 ft remote strand: 3 ft of cable from panel to first socket, about 5 to 6 hours of light on a full charge |
| Low-voltage landscape lights | A GFCI receptacle with an in-use cover for a plug-in transformer, a wall or post to mount it at least 12 in above the ground, and a route for cable to each fixture | One maker: load at no more than 80% of the transformer’s capacity; no extension cords |
Plug-in. This is the simplest for string lights and wall lights, and it needs an outlet that is already there. All outdoor receptacles should be GFCI protected, and extension cords are meant for temporary use: the same sheet suggests having a qualified electrician add receptacles so you do not need one. That is the answer to a patio with no outlet nearby, if you do not want cords across it.
Solar. Nothing to plug in, but the panel needs direct sun. One example is the 48-foot Brightech Ambience Pro Solar Hanging Remote Control: 15 S14 1-watt bulbs at 3000K, a 1-watt panel with 3 feet of cable to the first socket, a sensor that switches the lights on at dusk and a remote with two brightness settings. It costs $79.99 (price for reference only). The maker says to put the panel where it gets direct sun and allow a full day of charging before judging the first evening, and lists about five to six hours of light on a full charge. Its drawback is run time: that covers an evening meal, but on a shaded patio or a short winter day the panel may not refill it (our reading). Another maker’s manual for its solar string lights says a panel always needs direct sunlight and charges more slowly when it is cloudy.
Low-voltage. A transformer steps household current down to a low voltage (12 to 15 volts on one maker’s transformers) for path, step and deck lights. That maker’s guide asks for a plug into a GFCI circuit, no extension cords, a vertical mount with the bottom at least 12 inches off the ground, and a load kept within 80% of the transformer’s capacity: add up the fixtures’ wattage and keep it 20% under the transformer’s rating. Plugging into an existing outdoor outlet needs no new electrical work, but a new outlet or hard-wired connection does (our reading); the same maker’s guide says to consult a licensed electrician for line-voltage work, and another maker recommends hiring a landscape contractor or electrician to install the project.
How bright should it be, and what color?
We found no maker figure for how bright a dining table should be, so there is no single lumen target here; the numbers below are what the makers and one retailer list for each kind of light.
- String lights: the 48-foot plug-in strand used below lists 200 lumens per bulb on 15 bulbs, or 3,000 lumens for the strand (our arithmetic). That is a lot at full brightness, so plan on a dimmer: the maker says the strand is not dimmable on its own but can run through a compatible outdoor plug-in dimmer.
- Steps and path: one retailer’s lumens guide lists 12 to 100 lumens for step lights and 100 to 200 for path lights, and says decorative lights need fewer lumens than security ones. The path lights on one landscape maker’s page run from 100 to 425 lumens, depending on the model. Within the retailer’s 100 to 200 lumen path range, it puts decorative paths at the low end and darker spots or security lighting higher; pick the lowest that lets you see the edge and the steps (our suggestion).
Color. A Utah State University Extension page lists five principles for responsible outdoor lighting, from DarkSky International and the Illuminating Engineering Society: light should be useful, targeted, no brighter than necessary, controlled and warmer in color where possible. The string lights used below come in 2500K (Warm White), 2700K (Soft White) or 3000K (Neutral White). Use one color temperature across the whole patio so the layers match (our suggestion).
Keeping it off the neighbors. On the same page, shielded lights do not produce glare or sky glow and light an area efficiently by directing light toward the ground, and well-planned lighting does not allow light trespass on others’ property. The bulbs on the strand below shine in every direction, so that strand is aimed only by how it is hung: keep a strand like it over your own patio and not along the fence line (our suggestion). For control, the transformer maker’s timer has settings of 2, 4, 6, 8 or 10 hours after dusk and a dusk-to-dawn photocell setting, and a plug-in dimmer or a timer plug works the same way on a string (our reading).
How do you hang string lights over the patio?
Hang them as a plan, not as a toss over a branch. These steps follow three string-light makers’ guides (the third, Brightech, is the strand’s maker), and the ones we added are marked:
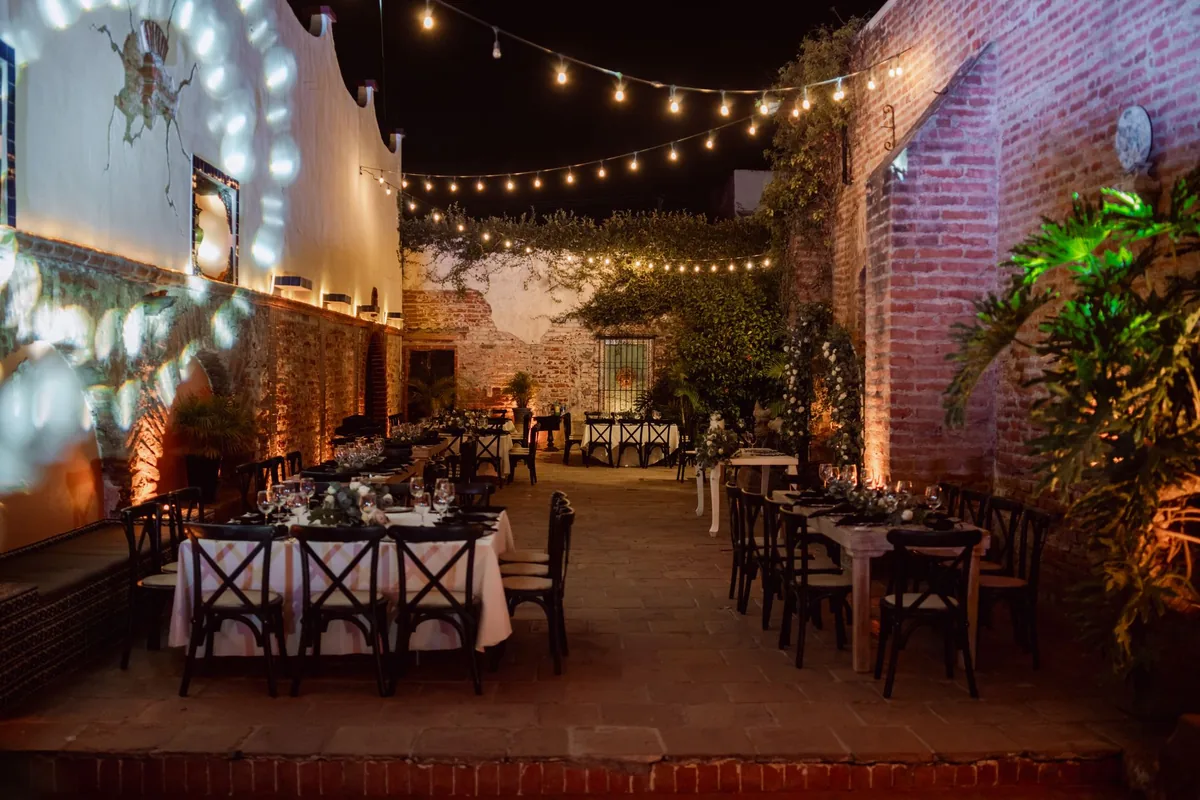
- Choose a pattern and mark the anchors. One maker’s guide lists a zigzag or W-shape for full overhead coverage of a larger area, an X across a square, and a border line for a softer edge. Mark each anchor with a pencil.
- Check the anchors. Porch roofs, pergola beams, trees and posts work as anchor points in another maker’s guide, and the first maker’s guide adds house walls, says to inspect a covered patio’s beams for strength and to use an anchor strong enough to hold the lights. It lists a drill-in hook with an anchor for brick, a vinyl-siding hook that slides under panels and a stucco hook for textured walls.
- Measure the run and buy the length. Measure from the outlet along every span, adding slack for the droop. One strand maker says a taut strand looks shorter and less inviting than one that swags. Not all of a strand is lit: the 48-foot Brightech Ambience Pro LED Plug-in String Lights in Soft White (2700K) are 48 feet in total and 42 feet lit, with 15 bulbs 3 feet apart, so 6 feet of cord is unlit (our arithmetic). It is UL listed and weatherproof, and costs $64.00 (price for reference only). It lists up to 2 of these 48-foot strands end to end, or up to 4 of the 24-foot version. Buy a compatible outdoor plug-in dimmer too if you want to dim it. Its drawbacks: it is not dimmable without that separate dimmer, it weighs 6.41 pounds, and the bulbs throw light in every direction.
- Test before you hang. Plug the strand in and check every bulb before it goes up, as the first maker’s guide advises.
- Run guide wire between the anchors. Put the strand on a wire rather than relying on its own cord (our suggestion). The second maker generally recommends aircraft wire about 1/16 inch thick, with screw hooks or eye bolts, snap hooks and cable seals; the first says a steel guide wire gives strength and reduces strain on the bulbs, and spaces its support poles 15 to 25 feet apart, or about 10 feet for heavier commercial-style lights. For a longer span, add a post between (our suggestion). If the strand has no eyelets for the wire, use cable ties or zip ties.
- Hang it at head-clear height. The first maker’s usual height is 7 to 10 feet above the ground, and lower over seating. Check it with the tallest person who will stand under it (our suggestion).
- Link only as many strands as the maker allows. Use the limit printed with your strand: for the 48-foot example above it is 2 end to end. A run that needs a third strand needs a second outlet (our reading).
- Plug in, dim and set a timer. Dim it to dinner level and put it on a timer so it is not left on all night (our suggestion).
How do you light the path and steps?
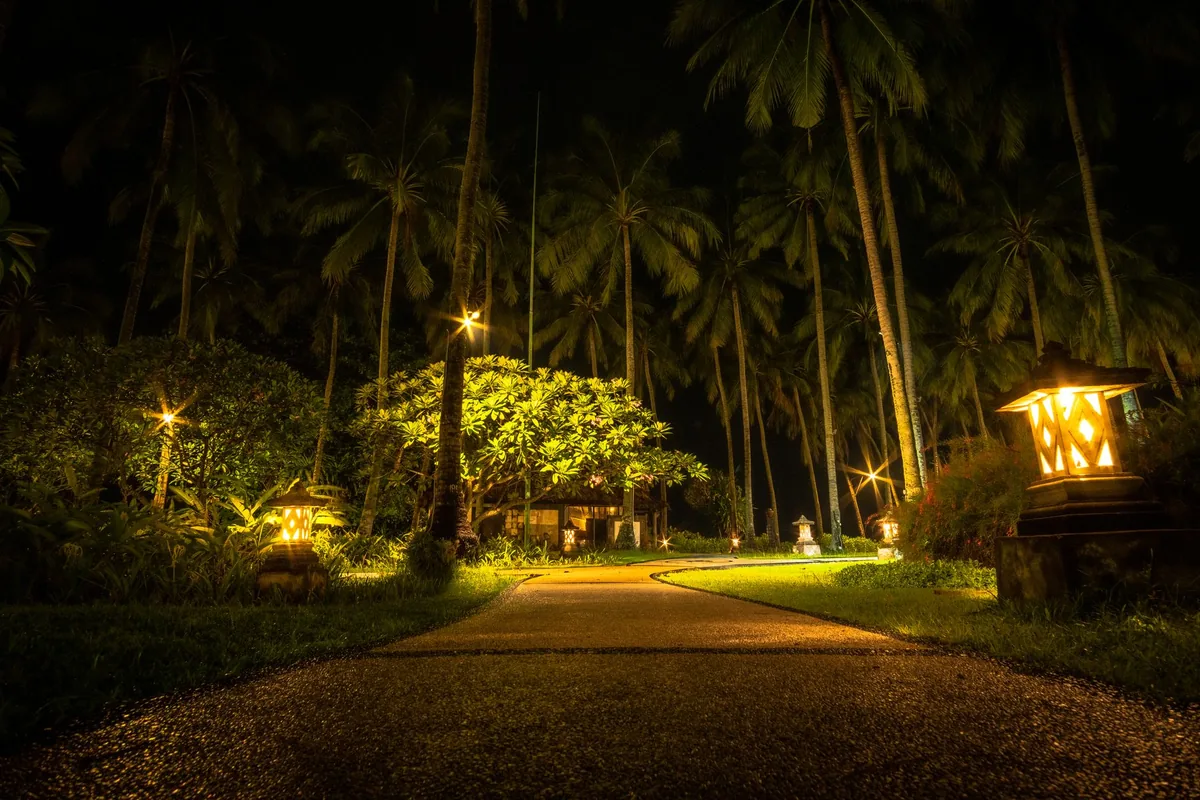
Space path lights by their beam. One landscape-lighting maker ties spacing to the fixture’s beam spread: for a path with continuous light, the fixtures go about one beam width apart, and for separate pools of light about 1.25 to 1.5 times that, from its two examples (a 3-foot beam at 3 and 4.5 feet; a 16-foot beam at 16 and 20; our arithmetic). Fixtures sit near the start and the end of the path, and half of their light falls beyond it. So add one beam width to the path’s length, divide by the beam width and round up. For a 20-foot path and a 3-foot beam that is (20 + 3) / 3, about 7.7, so 8 fixtures (our arithmetic). The same maker says a staggered or zig-zag layout usually looks better than a straight line on one side.
Light the steps from the step. One landscape maker’s guide suggests an LED brick light set into the riser of each step, or a light under each step’s cap, to give a safe, visible way up and down at night. Decks can have lights under the lip of the railing.
Connect and bury the cable. These figures are from one path light’s use-and-care guide: that fixture takes a 12-16 AWG low-voltage cable, press the connector onto the cable until it locks and wrap it in electrical tape, push the stake in without a hammer (use water or a trowel if the ground is hard), do not bury its wiring more than 6 inches to connect to the main cable, and keep path lights at least 10 feet from a pool, spa or fountain. Turn the power on after all fixtures are in. The transformer maker’s quick-start order is to mount the transformer, run the cable, connect each fixture, plug in and test, then adjust the fixtures at dusk and bury the cable only after that, so the beams are right first. The transformer maker has a wire-gauge chart by fixture type (halogen or LED) and run length that points to 12/2, 10/2 or 8/2 cable, and does not recommend runs longer than 300 feet. Use the gauge your transformer’s chart gives for your run length, and check that your fixture’s connector takes it. If the chart calls for heavier cable than the fixture accepts (this fixture takes 12 to 16 AWG), split the path into shorter runs or ask the makers (our suggestion).
What should you check before you leave it on?
- Rating. One lighting maker defines a damp-rated fixture as one for covered places that cannot be exposed directly to water, even in a storm, and a wet-rated one as able to take direct precipitation. If rain reaches the spot, choose wet-rated (our reading).
- Outdoor-rated cords only. One Ontario fire service’s holiday-lighting sheet says never to use indoor-rated lights or cords outdoors, to use only grounded three-prong extension cords rated for outdoor use, and never to link several extension cords together.
- GFCI. NFPA says all outdoor receptacles should be GFCI protected, and to test GFCIs once a month following the maker’s instructions.
- Cord routes. NFPA’s checklist says cords should not run across doorways or under carpets. The fire service sheet says to keep lights and wires away from walkways and driveways. Route cords along the wall or edge, not across the path (our suggestion).
- Overhead lines. The fire service sheet says to watch for overhead power lines when hanging lights so the ladder does not become a shock hazard.
- After a storm. One maker’s guide says to turn string lights off in extreme weather and to check them for damage seasonally and after harsh weather.
- New wiring. NFPA advises having all electrical work done by a qualified electrician, so a new outlet or a hard-wired fixture is electrician’s work (our reading).
Where these numbers come from
Fixture types, ratings and step lighting come from Kichler’s guides; path-light spacing, transformer rules and timers from Volt Lighting; string-light specs, solar run time and prices from Brightech’s product pages; hanging height and spacing from Govee and Novelty Lights; cable limits from a path-light use-and-care guide; light-color and glare principles from a Utah State University Extension page; step and path lumens from a Home Depot guide; and outlet and cord safety from NFPA and Brampton Fire and Emergency Services, all read on 4 November 2026. Prices are what Brightech’s pages showed without a code that day. Arithmetic marked as ours is our own.
Frequently asked questions
How far apart should path lights be?
It depends on the light's beam. One landscape-lighting maker spaces path lights by beam spread: a light with a roughly 3-foot beam about 3 feet apart for continuous light along a path or 4.5 feet apart for separate pools, and a light with a roughly 16-foot beam about 16 or 20 feet apart. It places a fixture near the start and the end of the path and suggests staggering them rather than lining them up on one side. Read the beam spread on the fixture you buy before you count.
How high should patio string lights hang?
One string-light maker's guide puts the usual height at 7 to 10 feet above the ground, and says you can hang them lower over a seating area. It spaces support poles 15 to 25 feet apart, reduced to about 10 feet for heavier commercial-style lights, and says a steel guide wire gives strength and reduces strain on the bulbs. Check the weight of your strand: the 48-foot plug-in strand used here lists 6.41 pounds on its maker's page.
Can solar lights light a patio?
They can where the panel gets direct sun. One solar string-light maker says to put the panel where it gets direct sun and allow a full day of charging before judging the first evening, and lists about five to six hours of light on a full charge for its 48-foot remote strand. Another maker's solar manual says its panel always needs direct sunlight and charges more slowly when it is cloudy. A shaded patio, or a long winter evening, may outlast the charge (our reading).
Do patio lights need a GFCI outlet?
The National Fire Protection Association says all outdoor receptacles should be GFCI protected, and to test GFCIs once a month following the maker's instructions. One landscape-lighting maker's transformer guide also requires its plug-in transformer to go into a GFCI-protected receptacle with an in-use cover, and says not to use extension cords with its transformers. If the patio has no outdoor outlet, the same NFPA sheet suggests having a qualified electrician add one rather than relying on extension cords.
- #patio lighting ideas
- #string lights
- #path lights
- #solar lights
- #low-voltage lighting